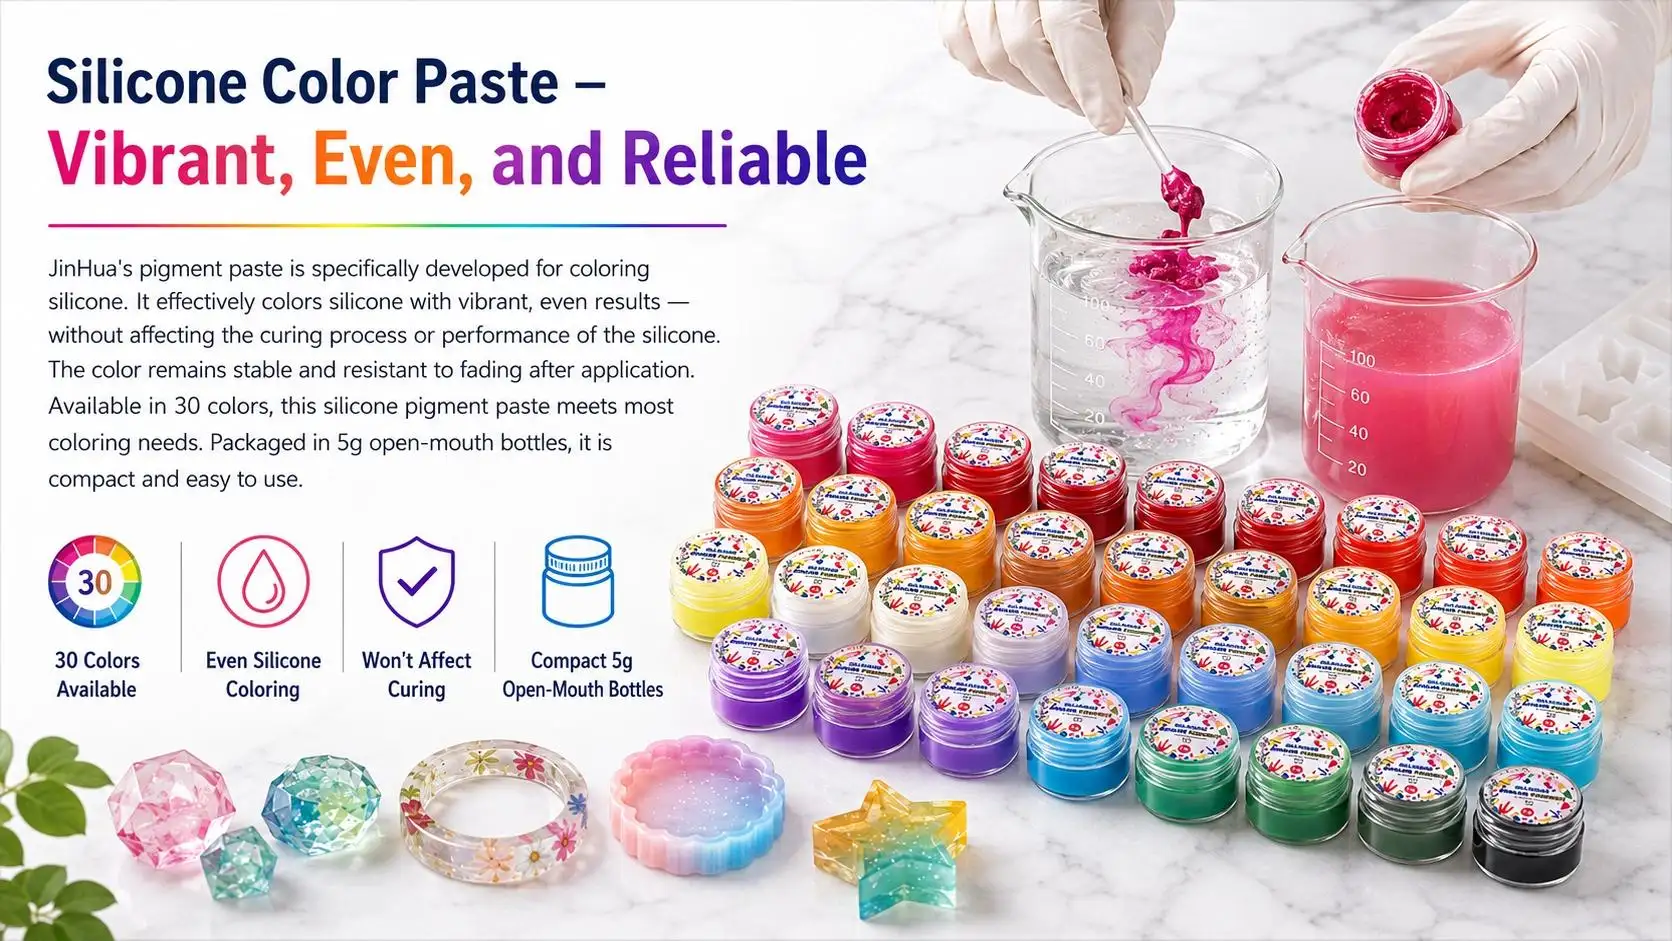





One of the most useful colorants for your epoxy resin projects is the white pigment paste - particularly if you are looking to create ocean waves, foam, cells, marble or an opaque white finish. While not like traditional liquid colorants, a concentrated white pigment paste can also deliver high strength colour in addition to altering the density and flow properties of the resin.
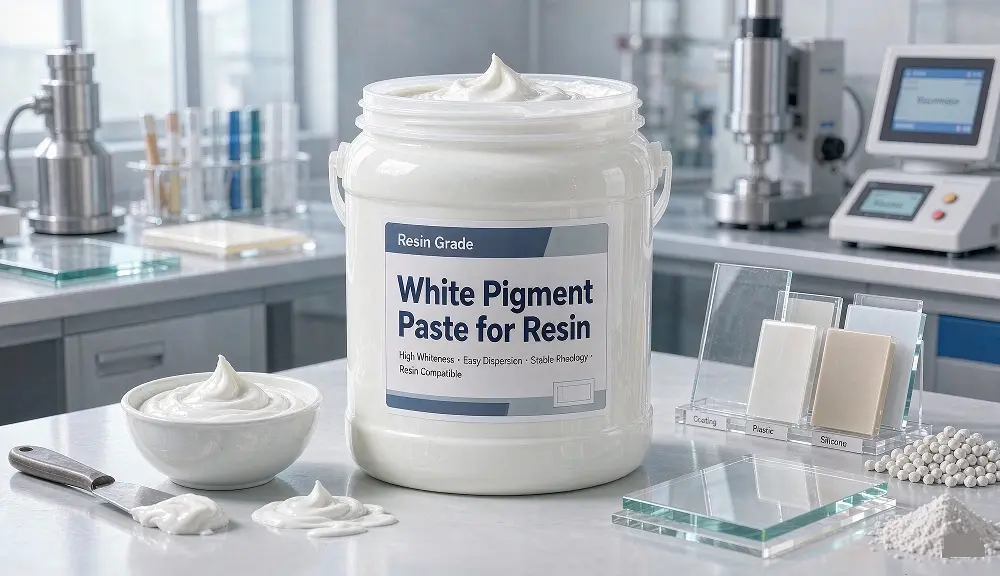
Creating a white pigment paste is an easy process and can be an affordable and more customizable option for resin artists when compared to buying a pre-made product. The idea is straightforward: mix a suitable white pigment powder with epoxy resin Part A to get a smooth and high concentration of the pigment powder in the resin.
This is a guide to creating white pigment paste with resin, the materials you'll need, the proper way to mix it up and how to use it to make beautiful ocean inspired resin art.
What Is White Pigment Paste for Resin?
White pigment paste is a high strength resin colourant, where a high concentration of white pigment is dispersed in a compatible binder. The pigment imparts colour and opacity and the resin-based binder ensures the pigment can be incorporated into an epoxy system.
White pigment may be in the form of matte white pigment, or pearlescent white mica powder. It is dependent on the impact you're looking for.
For example:
- Matte white pigment creates a solid, opaque appearance.
- White pearl mica produces a luminous, slightly metallic effect.
- Titanium dioxide-based pigments are commonly used when strong opacity and bright white color are required.
- Fine mica powders can create attractive movement and reflective effects in decorative resin.
White pigment paste is a favorite material for ocean resin art because using a concentrated, relatively heavy white paste will produce better lacing and cell effects when mixed with clear resin.
Why Make Your Own White Pigment Paste?
There are a few benefits to an individual making white pigment paste.
One is that you can only manufacture what you need. Occasionally the resin artist may not get enough use out of the large containers of commercial pigment pastes. DIY batch can eliminate waste in material.
Secondly, you can regulate the concentration. The more pigment you add, the thicker and more heavily pigmented your paste will be and the less pigment, the softer your colorant will be.
Thirdly, homemade pigment paste provides a chance for experimentation with various types of white pigments and resin techniques. The consistency can be changed depending on the project you are doing, such as ocean waves, decorative pours, coasters, trays, jewelry and other epoxy projects.
The simple method outlined in MEYSPRING is a 3:1 ratio of white pigment powder to epoxy resin Part A, to achieve a concentrated paste for resin-wave effects.
Materials You Will Need
Before making your white resin pigment paste, prepare the following supplies:
- White pigment powder or white pearl mica
- Epoxy resin Part A
- Glass or another smooth non-porous mixing surface
- Palette knife
- Small container with a lid
- Disposable gloves
- Appropriate respiratory protection when handling loose pigment powder
- Cleaning materials for your work surface
A smooth glass surface makes it easier to break up pigment clumps and thoroughly incorporate the resin.
Always check the manufacturer's safety instructions for both the pigment and epoxy resin before starting. Fine pigment powders should be handled carefully to minimize airborne dust.
Recommended White Pigment Paste Ratio
For a highly concentrated paste suitable for resin ocean-wave effects, a useful starting formula is:
3 parts white pigment powder + 1 part epoxy resin Part A
For example, you could combine:
- 30 g white pigment powder
- 10 g epoxy resin Part A
This produces approximately 40 g of pigment paste.
The 3:1 ratio is a starting point rather than a universal rule for every resin system. Different pigments have different particle sizes, densities, absorption characteristics, and dispersion properties. Therefore, always test a small batch first.
Importantly, when making this particular type of DIY paste, use epoxy Resin Part A rather than Part B/hardener. MEYSPRING specifically notes that Part B is unsuitable for its DIY resin-wave pigment-paste formula.
Step-by-Step: How to Make White Pigment Paste for Resin
Step 1: Prepare Your Workspace
Work on a clean, dry, level surface. Place a glass mixing board or another suitable non-porous surface in your workspace.
Wear gloves and follow the safety requirements for your pigment and epoxy products. Good ventilation is also important.
Step 2: Add the Pigment
Place a small quantity of white pigment powder onto the mixing surface.
It is easier to begin with a small amount and increase the batch gradually rather than making a large quantity immediately.
Step 3: Add Epoxy Resin Part A
Add a small amount of epoxy resin Part A to the pigment.
Start mixing with a palette knife. Work the resin into the pigment gradually instead of adding a large amount of resin all at once.
Step 4: Build the Concentration
Continue adding pigment until you approach the desired 3:1 pigment-to-Part-A ratio.
Use the palette knife to press and fold the mixture repeatedly. This helps eliminate dry pigment pockets and visible lumps.
Step 5: Check the Consistency
A properly mixed pigment paste should have a smooth, consistent appearance without obvious dry powder.
For ocean-wave applications, a thicker and highly concentrated paste can be useful because the colored resin needs enough density to interact with the clear resin layer.
If your mixture is too thin, gradually incorporate additional pigment. If it is excessively dry or difficult to disperse, a small amount of compatible Part A may help adjust the consistency.
Step 6: Transfer and Store
Once the paste is completely mixed, transfer it into a clean, airtight container.
Make only as much as you reasonably expect to use. Small batches are particularly convenient because they reduce storage time and material waste.
How to Use White Pigment Paste in Epoxy Resin
White pigment paste is highly concentrated, so you generally do not need a large amount to color epoxy resin.
Start with a very small quantity of paste and thoroughly mix it into your already measured resin. Check the color and opacity before adding more.
For an opaque white finish, gradually increase the pigment until the desired coverage is achieved.
For ocean waves, however, the goal is often not simply to make the entire resin white. Instead, the white resin is strategically placed over clear resin to create movement and foam-like patterns.
MEYSPRING recommends pouring clear resin first and then adding a narrow line of heavily pigmented white resin where the wave or lacing effect is desired.
How to Create Ocean Wave and Lacing Effects
One of the most popular applications for white pigment paste is ocean-inspired epoxy art.
The basic technique involves creating a clear resin layer and then adding a concentrated white resin mixture.
Because the heavily pigmented white resin can be denser than the surrounding clear resin, it may move downward while the lighter clear resin moves through and around it. Controlled heat can encourage this movement and help produce cells and lacing.
A simplified process is:
- Pour your blue, turquoise, or clear resin base.
- Allow the layer to settle according to your resin manufacturer's instructions.
- Pour a small amount of clear resin where you want the wave.
- Add a thin line of white pigmented resin.
- Apply controlled heat to encourage the white and clear resin to interact.
- Observe the wave pattern and stop applying heat once the desired effect develops.
The exact result depends on resin viscosity, pigment concentration, temperature, layer thickness, and application technique.
Common Problems and How to Avoid Them
The White Pigment Looks Gray or Transparent
You may not be using enough pigment, or your chosen pigment may have lower opacity. Add pigment gradually and test a small sample.
The Paste Contains Lumps
Lumps usually indicate insufficient dispersion. Use a palette knife to press the pigment against the mixing surface while repeatedly folding the mixture.
The Resin Cures Differently
Adding concentrated colorants can influence resin behavior and curing. MEYSPRING recommends testing small quantities before committing to a large batch.
The Ocean Waves Look Muddy
Using too much white resin can overwhelm the underlying colors. Start with a thin line and a small amount of pigment paste. You can always add more, but removing cured or partially cured resin is much more difficult.
The White Resin Does Not Create Cells
Cell formation depends on more than pigment alone. Resin viscosity, density differences, pigment concentration, temperature, layer thickness, and heat application all influence the result.
White Pigment Paste vs. White Pigment Powder
White pigment powder is known as raw colorant and pigment paste is a concentrated mixture of pigment and binder.
Powder allows you to have more flexibility when it comes to creating your own colours however it will need a little more preparation and care in its dispersion.
The pigment paste is easier to use since it can be added to resin in small amounts. It's also a little easier to duplicate colors from one project to another.
If you are a DIY resin artist, creating your own pigment paste using pigment powder and compatible Part A can offer a useful compromise between using pigment powder and buying pre-mixed resin pigment paste.
Final Tips for Better White Resin Results
For the best results, remember these key points:
- Choose a pigment designed to work with your resin system.
- Start with small test batches.
- Use a smooth mixing surface.
- Mix thoroughly to eliminate pigment clumps.
- Keep the pigment paste highly concentrated when creating ocean-wave effects.
- Add pigment paste to mixed resin gradually.
- Avoid excessive pigment, which may affect resin performance.
- Use controlled heat rather than prolonged heating.
- Test your technique before working on a valuable finished piece.
- Store unused pigment paste in a clean, sealed container.
Final Thoughts
Knowing how to make white pigment paste to use in your resin is a simple and valuable technique for resin artists. White pigment powder and compatible epoxy Resin Part A to make a concentrated colourant for your project.
A starting ratio of 3:1 (white pigment powder to Resin Part A) may be especially helpful for dense white resin for ocean waves and lacing effects.
The most important factor is experimentation. Each pigment and epoxy system is unique, and small-scale testing is the most effective method to ensure the optimum concentration, viscosity and method of use.
There are many ways to use epoxy to create coasters, tables, resin trays, decorative panels, and other types of epoxy art, and a good white pigment paste can help you achieve more control over the opacity, movement, and visual effects.