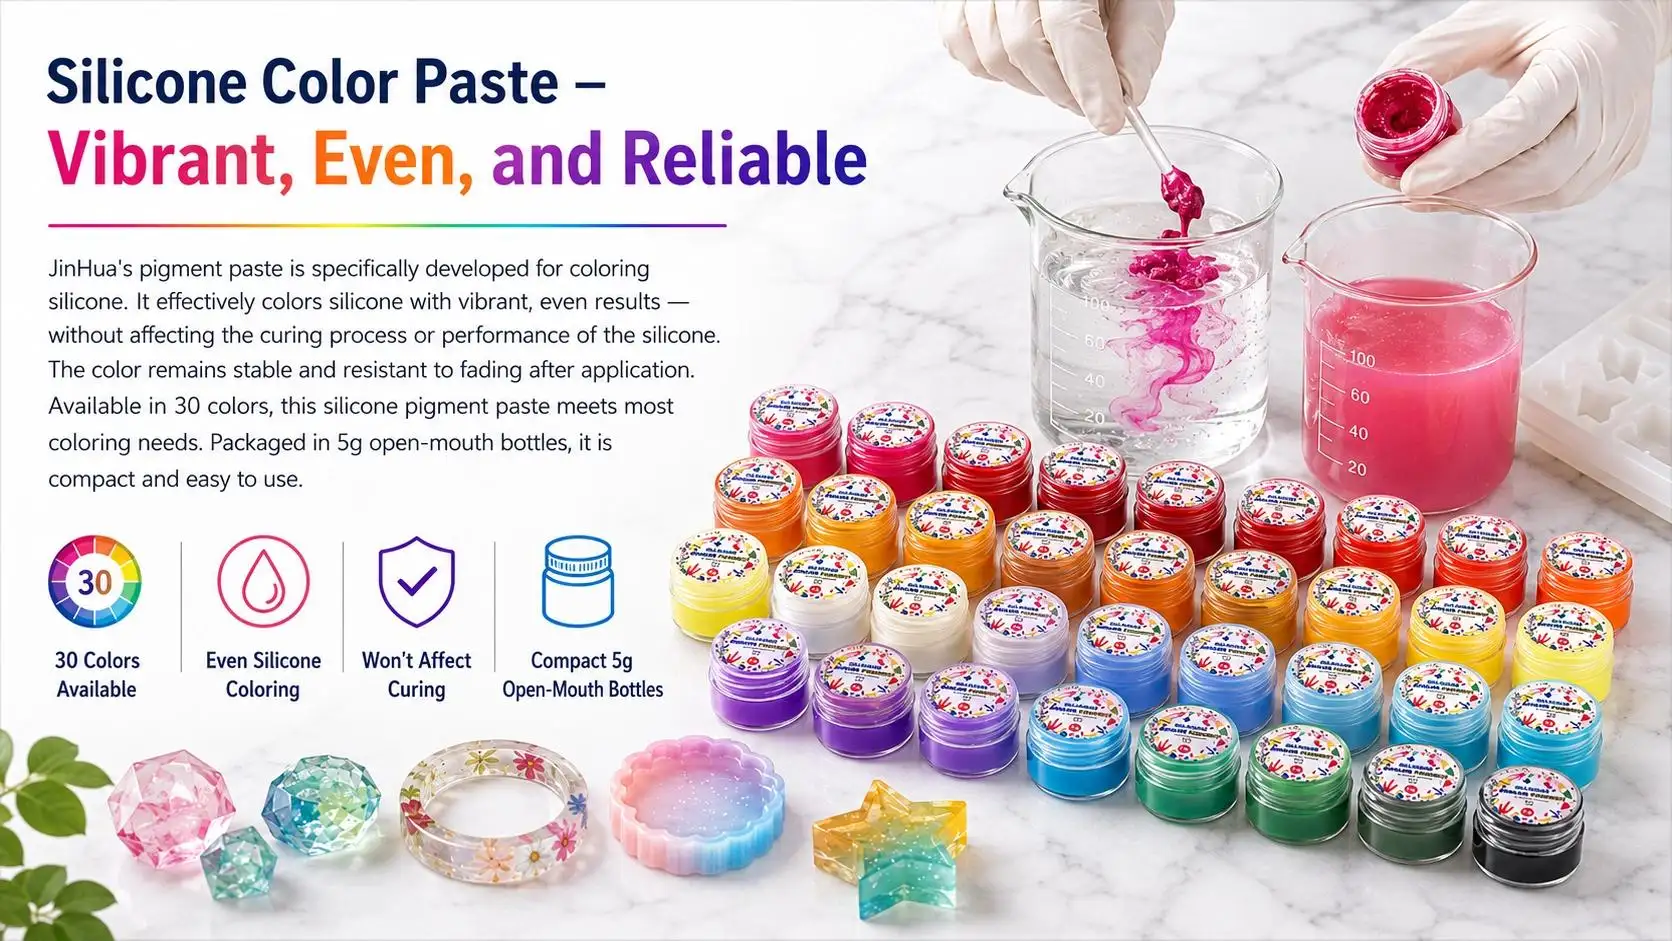






Pigment paste is one of the simplest materials used for getting rich, opaque colors in epoxy resin. Homemade pigment paste allows you to have more control over colour intensity, consistency, and cost when making resin art, ocean waves, jewelry, coasters, trays, river tables, or decorative molds.
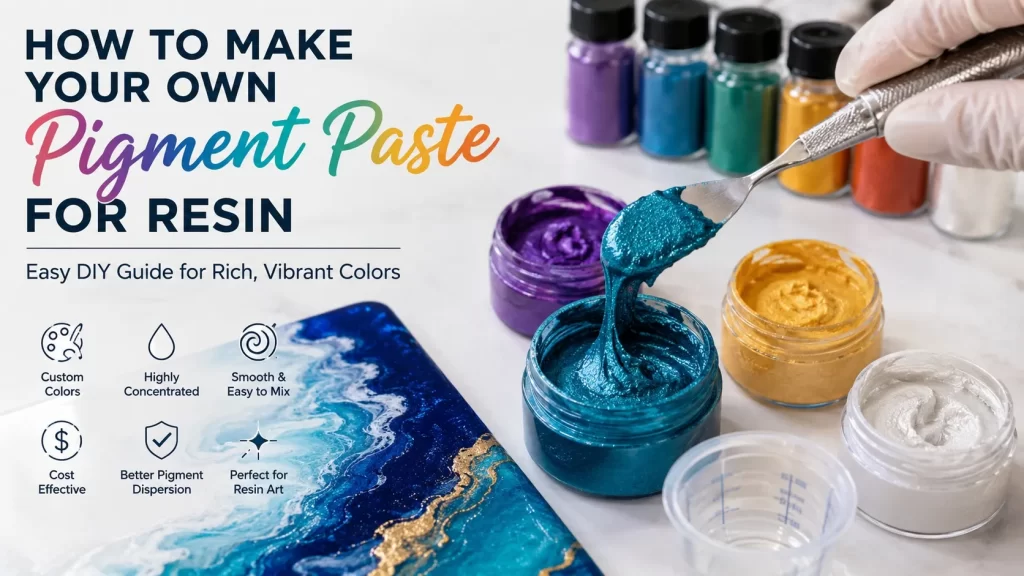
A pigment paste consists of the pigment powder and a compatible resin-based carrier, compared to loose pigment powder. This creates a smooth, thick colourant that can be more evenly dispersed into resin. While it's convenient to have commercial pigment pastes available, it can also be an economical choice to create a pigment paste from resin and pigment powders that you already have on hand.
Resin pigment paste is a material made for use in other materials to produce a natural-looking pigment. This guide will explain what material it is, what's needed, how to make it, how much you should use and how to avoid some common problems.
What Is Pigment Paste for Resin?
Resin pigment paste is a pigment that is finely ground in a suitable medium. Pigment pastes tend to offer more opacity and depth of color than liquid dyes, and are not as liquid as liquid dyes.
Different effects of the visual can be achieved by using other appropriate dry pigments such as mica powder and titanium dioxide. Mica can be used to create pearlescent or metallic effects, while white pigments, like titanium dioxide, can be effective for achieving high opacities.
The biggest benefit of pigment paste is that it concentrates. A small amount will be added to the epoxy resin and a high dye density will be obtained without adding a significant amount of extra liquid.
This is especially helpful for pigment paste artists for all those projects involving solid colors, dramatic black and white effects, ocean waves, marbling, abstract pieces and decorative casting.
Why Make Your Own Resin Pigment Paste?
There are a number of reasons why you should consider making your own pigment paste.
1. Customize Your Colors
The colors in commercial pigment paste are not restricted. Try a variety of pigment powders and mix colours together to make unique shades.
For instance, blending blue and green colours can help you achieve a turquoise hue, whereas using white in combination with any other colour will help create a pastel effect.
2. Create Highly Concentrated Colors
Pigment paste is a very concentrated form of pigment that can create intense colors. It is particularly useful for opaque black, white, red, blue and other strong colours.
3. Improve Pigment Dispersion
If not well dispersed, dry pigment powder can occur in minor clumps. If you want to add the powder evenly to the resin, it might be easier to create a smooth paste from the powder first.
4. Reduce Waste
If you are only using a small quantity of a particular color then it may be more convenient to make your own rather than buying several pre-mixed colors.
5. Create Special Effects
The ocean-themed resin art typically utilizes dense white pigment paste because of its heavier texture which can help produce the wave and cell effect.
Materials You Will Need
Before making pigment paste for epoxy resin, prepare:
- Compatible epoxy resin or resin component
- Mica powder or another resin-compatible pigment
- Clean glass or nonporous mixing surface
- Palette knife or silicone spatula
- Small airtight container
- Nitrile gloves
- Digital scale, if you want repeatable recipes
- Respiratory protection appropriate for the pigment manufacturer's instructions
Choose pigments specifically confirmed as compatible with your resin system. Not every paint, dye, or powder is suitable for epoxy resin.
For example, water-based colorants can introduce unwanted moisture into resin and may affect appearance or curing. Always check the pigment manufacturer's compatibility information before using an unfamiliar colorant.
Step-by-Step: How to Make Pigment Paste for Resin
Step 1: Prepare Your Workspace
Work on a clean, smooth, nonporous surface such as glass. A smooth surface makes it easier to scrape and collect the finished pigment paste.
Wear gloves and follow the safety instructions provided for your resin and pigment. Fine pigment powders can become airborne during handling, so avoid creating unnecessary dust.
Step 2: Start With a Small Amount
Place a small quantity of pigment powder on your mixing surface. Do not make a large batch until you know how the particular pigment behaves.
Different pigments have different tinting strengths and absorption characteristics, so there is no single pigment-to-resin ratio that works perfectly for every color.
Step 3: Add the Resin Carrier
Add a small amount of compatible resin component to the pigment. Many DIY formulas use resin Part A as the carrier, while some systems may allow another compatible component.
Start conservatively. It is easier to make a paste thinner by adding more resin than to correct a mixture that has become excessively fluid.
Step 4: Mix Thoroughly
Use a palette knife to work the resin into the pigment. Press, fold, and smear the mixture repeatedly until the dry particles are fully incorporated.
The goal is a smooth, homogeneous paste without visible dry pockets or pigment lumps.
Step 5: Adjust the Consistency
If the paste is too thick, gradually add a small amount of resin carrier.
If it is too thin, gradually incorporate more pigment.
For darker or more opaque colors, increase the pigment concentration carefully. Remember that every pigment behaves differently, so recording your successful ratios can help you reproduce the same color later.
Step 6: Check the Finished Paste
A good pigment paste should look smooth and consistent. There should be no obvious dry powder, hard lumps, or separated liquid.
Before using a new formula in an important project, test a small amount with your actual resin system.
How Much Pigment Paste Should You Add to Epoxy Resin?
This is one of the most important questions when coloring epoxy.
There is no universal dosage because pigment concentration varies significantly between products. A useful approach is to begin with a small amount and gradually increase it until you achieve the desired opacity.
Some manufacturers recommend keeping pigment paste at or below approximately 10% of the combined resin system, while other pigment products recommend lower limits. Too much colorant can interfere with the resin's designed formulation and potentially affect curing or final properties.
Always follow the technical instructions for your specific epoxy and pigment.
Most importantly, do not compensate for excessive pigment by changing the resin-to-hardener ratio. The epoxy's specified mixing ratio should remain correct.
Can You Use Mica Powder to Make Pigment Paste?
Yes, suitable mica powder can be used to make resin pigment paste. Mica is particularly popular because it can produce metallic, pearlescent, shimmering, and color-shifting effects.
However, mica powder and opaque pigment behave differently.
Mica particles reflect light and can create a sparkling or translucent appearance. Opaque pigments are better when you want a solid, uniform color.
For white ocean waves, for example, a suitable high-opacity white pigment can provide a heavier visual effect than a typical pearlescent mica.
Common Mistakes to Avoid
Using Too Much Pigment
More pigment does not always mean better results. Excessive pigment can change the working characteristics of your resin and may interfere with curing.
Start with a small quantity and increase gradually.
Adding Water-Based Paint
Do not assume that any acrylic paint or liquid colorant will work with epoxy. Water and incompatible additives can cause curing or appearance problems.
Use a colorant specifically identified as compatible with your resin.
Mixing Too Quickly
Aggressive mixing can introduce air bubbles into the paste and later into your resin project.
Mix steadily and thoroughly while minimizing unnecessary whipping.
Making Too Much
Homemade pigment paste can dry out or change consistency during storage. The original IntoResin guide recommends making small quantities and notes a typical storage period of around six to nine months when the paste remains usable and has not dried out.
For occasional resin projects, small batches are usually the better choice.
Skipping a Test
Pigments differ in tinting strength, density, and dispersion. Always test a small quantity before using a new homemade pigment paste in a large casting.
How to Store Homemade Pigment Paste
Transfer the finished paste into a clean, airtight container. Keep the container properly sealed when not in use to reduce exposure to air.
Label each container with:
- Pigment color
- Pigment type
- Carrier used
- Mixing ratio
- Date created
This simple system makes it much easier to reproduce successful colors.
Discard the paste if it has dried out, developed an unusual texture, or otherwise appears unsuitable for your resin application.
Pigment Paste vs. Pigment Powder
Both products can be useful, but they serve slightly different purposes.
Pigment powder is flexible, concentrated, and easy to store, but it requires thorough dispersion in resin.
Pigment paste is already dispersed into a carrier, making it convenient to measure and incorporate. It also provides a thicker, concentrated coloring medium.
For beginners, pigment paste can make color mixing easier. For experienced resin artists, making DIY pigment paste provides additional control over concentration and custom colors.
Frequently Asked Questions
Can homemade pigment paste affect epoxy curing?
It can if too much colorant or an incompatible carrier is introduced. Keep the amount within the limits recommended by the resin and pigment manufacturers and maintain the correct resin-to-hardener ratio.
What is the best pigment-to-resin ratio?
There is no universal ratio. Different pigments have different tinting strengths. Start with a small amount and gradually add pigment until the desired consistency and opacity are achieved.
Can pigment paste be used in every type of resin?
Not necessarily. Epoxy, polyester, polyurethane, UV resin, and other systems have different formulations. Confirm compatibility before use.
How long does homemade pigment paste last?
Storage life depends on the ingredients, container, and storage conditions. A small batch is generally preferable because pigment paste can dry out over time. IntoResin's guide suggests approximately six to nine months as a typical storage period for its described homemade formulation.
Can I mix different pigment colors?
Yes, colours can be mixed together to get a custom colour, as long as they are compatible. Test in small quantities to monitor the finished color after cured.
Final Thoughts
Creating your own pigment paste for resin is a straightforward approach to experimenting with custom colors, and gives you better control of the opacity and consistency of the resin. The general process is simple: mix an appropriate pigment with an appropriate resin vehicle, work through it well, thin it to the proper viscosity and test before application in a final artwork.
The most important things to keep in mind are small batches, good dispersion, controlled ratios and pigment compatibility. Do not increase the amount of pigment, do not alter the resin to hardener ratio as suggested by the resin manufacturer and record as much as possible of successful formulas.
Homemade pigment paste can be a helpful addition to your resin making toolbox whether you are designing ocean art, resin jewelry, coasters, trays, decorative pieces, or larger resin projects.