





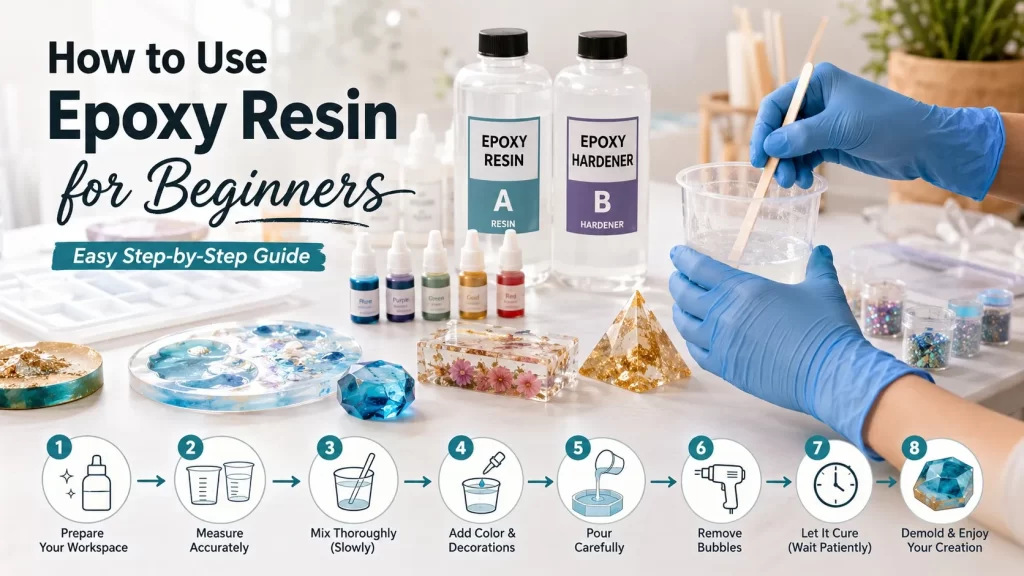
Epoxy resin is a versatile material for many do-it-yourself projects, jewelry, home decor, molds, art and craft projects. Working with 2 part epoxy resin can seem a daunting process at first, but in practice is actually very simple, and involves the following steps: set up your workspace, measure accurately, mix the resin and hardener correctly, add colors or decorations, pour in carefully, bubble removal, and allow it to cure completely.
The first rule for beginners is to read the instructions that are included with your type of epoxy resin. Each product may come with a different mixing ratio, working time, curing time and pour depth.
In this guide, epoxy resin beginners will learn how to work with epoxy resin and get some tips on how to get a smoother, clearer and a more professional-looking result.
What Is Epoxy Resin?
Epoxy resin is typically a two-part product, which comprises resin and a hardener. When mixed together in the proper proportion the two components chemically react and their liquid solution turns to a solid substance.
Epoxy resin is widely used by craft makers due to its ability to give a shiny appearance to the project, good adhesion with the material, durability and versatility. It's used for jewelry, coasters, decorative pieces, wood projects, molds, and encapsulation, and many more.
The mixture has a set working time (pot life) before the mixture starts to thicken and cure. Thus, it is important that beginners have everything ready prior to mixing. Small batches also are easier to manage and minimize material waste.
What Do You Need to Use Epoxy Resin?
When you are beginning with your initial epoxy resin project, you need to prepare all the items you will need. Typical beginner setup consists of:
- Two-part epoxy resin and hardener
- Measuring cups or calibrated containers
- Mixing cups
- Wooden or silicone mixing sticks
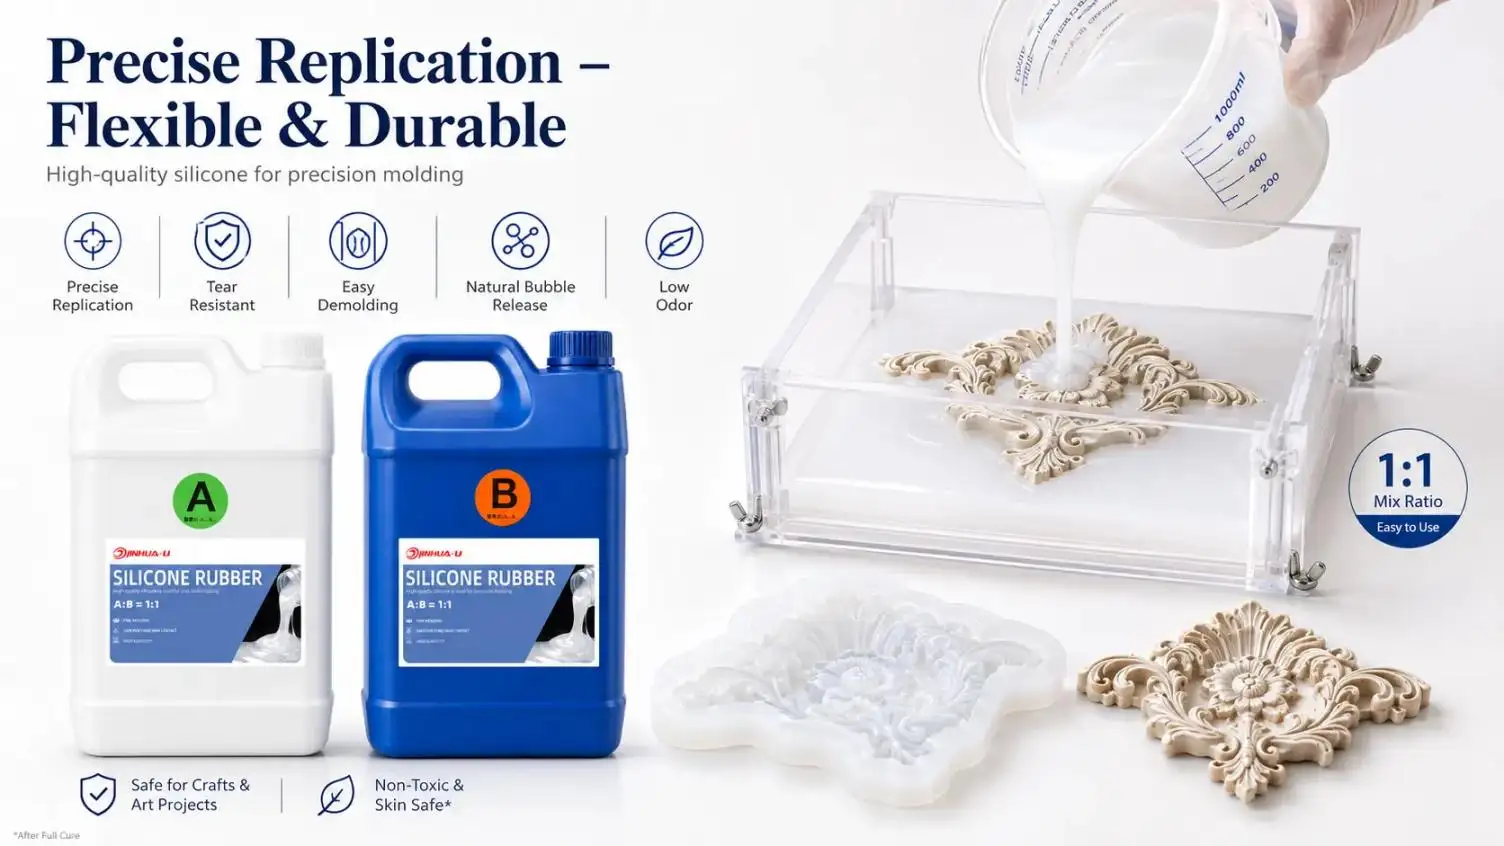
- Silicone molds
- Nitrile gloves
- Safety glasses
- Protective covering for your work surface
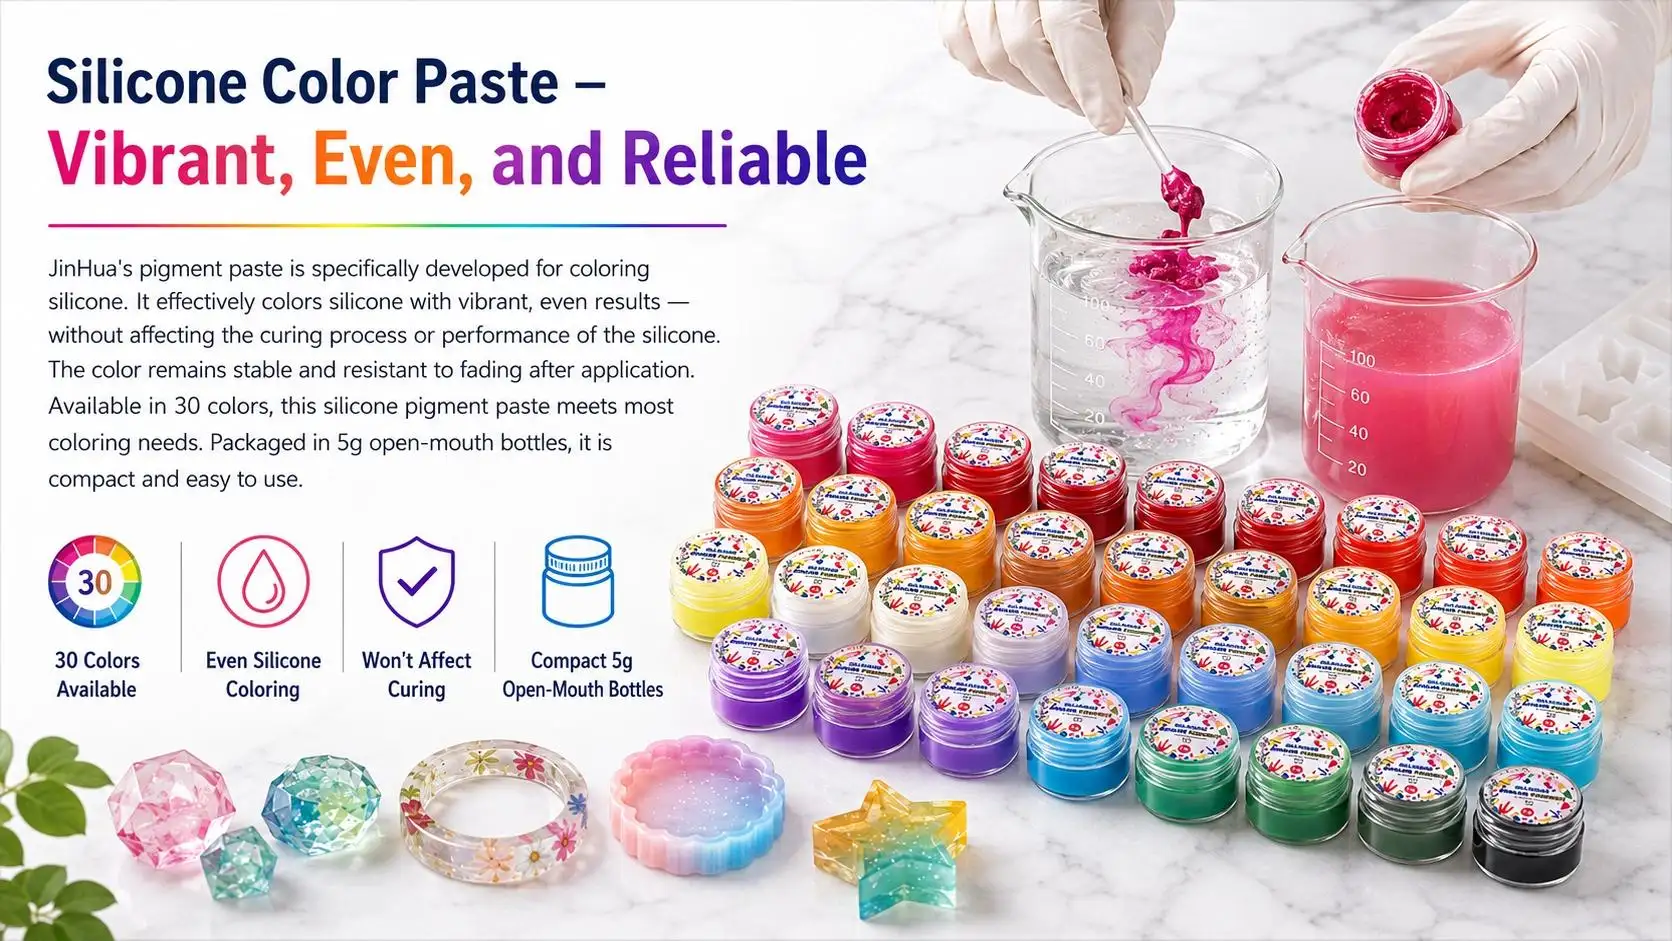
- Resin pigments, mica powder, or suitable colorants
- Glitter or decorative elements
- Heat gun or other appropriate bubble-removal tool
- A dust cover or clean container
Silicone molds are particularly useful because cured epoxy often can be easily removed by flexing the mold.
If you have any paper, photos, dried flowers, etc. that may absorb the resin, look for ways to seal them before placing them in the resin. This may help to minimize discoloration, staining and unwanted absorption.
Step 1: Prepare a Clean and Ventilated Workspace
Proper preparation, the key to good resin.
Select a workspace that is level, clean, dust free and well ventilated. Place a suitable protection sheet over the table to stop accidental spills from damaging the surface.
Do not allow children or pets in working and curing area. After mixing epoxy resin, avoid unnecessary movement as it can have an impact on the surface.
Personal protective equipment is also crucial. Always wear the proper gloves and eye protection, and use as directed by the resin manufacturer. Depending on the product, ventilation requirements vary, read the safety documentation of the product before using.
Step 2: Check the Mixing Ratio
The most common error among the beginning resin artists is using the incorrect proportion of resin to hardener.
The ratio of epoxy to resin can vary, for example 1:1, 2:1 or other ratios. The ratio can also be given in terms of volume or by weight. These methods are not necessarily interchangable.
If the product calls for a 1:1 resin/hardener, for instance, you would mix equal parts of resin and hardener. If the manufacturer's instructions indicate a different ratio, use the ratio as directed by the manufacturer.
Don't think that if you add more hardener it will cure quicker. The wrong proportions may lead to soft, sticky, under cured or even poor quality resin. One of the most critical parts of the process is the measuring.
Step 3: Mix the Epoxy Resin Slowly and Thoroughly
Once both parts have been measured, add them into a clean mixing container.
Slow and steady stirring is important. To make sure that the resin and hardener are completely mixed, scrape the bottom and sides of the cup as you mix. Do not over stir, as this will bring in more air bubbles.
The exact mixing time will vary with the formulation – do not use a standard mixing time – see the manufacturer's instructions. A few systems suggest several minutes of mixing followed, for some applications, by transferring to another clean container for further mixing.
An epoxy that is properly mixed will have a uniform color with no streaks of unmixed epoxy or hardener.
Step 4: Add Color, Glitter, or Decorative Elements
After complete mixing, you can add appropriate resin coloring materials, mica powder, glitter, and other materials that can be decorated to the epoxy, which are compatible with it.
Not all colorants can be used with epoxy resin though. Before adding paints, inks, powders, or other materials, always test for compatibility.
Add in pigments slowly, don't add in a ton. Too many additives may alter the curing characteristics or properties of the finished product.
If you're using dried flowers, for example, be sure they are well dried and prepared before adding them to the resin for a decorative effect.
Step 5: Pour the Resin Into the Mold
Carefully pour the mixture of epoxy into the prepared mold.
A controlled pour is beneficial to minimize splashing and unwanted air entrapment. When creating small pieces of jewelry, coasters, keychains, or decorative molds, make slow work and make sure the mold is on a level and stable surface.
Never pour more that the recommended maximum pour depth. Deep-pour epoxy and conventional coating/casting systems will have different needs.
If multiple layers are needed for the project, follow the manufacturer's guidelines for recoat time and thickness.
Step 6: Remove Air Bubbles
One of the most common issues encountered when learning to work with epoxy resin is air bubbles.
When this resin rests, some of the bubbles will tend to float towards the surface. Using gentle bubble removal methods can help clarify the water, but can cause any resin to become damaged if the water is heated too much, or cause the curing reaction to proceed too rapidly.
Carefully pass a suitable heat gun or other suitable tool over the surface if the product directions allow it. Maintain the tool in motion, do not focus heat on one area.
Another important prevention method is to mix slowly. Excessive stirring can result in a large number of small bubbles that are hard to extract afterwards.
Step 7: Let the Epoxy Resin Cure
Pour and carefully support the project in a clean stable curing site.
Provide an appropriate dust barrier over and maintain the recommended conditions of ventilation. Do not touch, move or test the surface numerous times while curing.
Keep in mind that curing time is not working time. Pot life is the length of time that the mixed epoxy is usable and curing time is the time required for the epoxy to become hardened. The curing process can take a lot longer than the initial hardening process.
Another factor related to temperature has a significant impact on the behavior of epoxy. A resin can be more viscous and slower curing under a cooler condition, and faster curing under a warmer condition. Always adhere to manufacturer's recommended temperature range.
Step 8: Remove the Finished Piece From the Mold
Don't remove your project just because it is hard on the surface.
Wait until epoxy is completely cured (to the manufacturer's specifications). Pick up the silicone mold and slowly bend to remove the finished product.
Sharp tools should not be used to push the project into the mold as they may scratch or damage the resin.
Once demoulded, check the edges and surface. If necessary, depending on the project, small imperfections can be fixed by sanding, polishing or applying another resin layer that is compatible.
Common Beginner Epoxy Resin Mistakes
Using the wrong mixing ratio
Incorrect proportions are a major cause of sticky or improperly cured epoxy. Always check whether the ratio is based on volume or weight.
Mixing too quickly
Aggressive stirring can introduce excessive bubbles. Slow, thorough mixing is generally a better approach.
Mixing too much at once
Large batches can generate significant heat during curing. Beginners should start with small quantities and follow the manufacturer's maximum batch and pour recommendations.
Working in a dusty environment
Dust particles can settle on wet resin and permanently become part of the finished surface. A clean workspace and protective cover can make a major difference.
Touching the project during curing
Even if the surface looks almost finished, fingerprints, dust, and movement can affect the result. Give the resin sufficient time to cure.
Frequently Asked Questions
What is the best epoxy resin for beginners?
An epoxy formulated for the beginner should be easy to read, have a relatively short working time and easy to control mixing. Select a formulation that suits your application instead of finding the fastest curing formulation.
How long does epoxy resin take to cure?
The curing time depends on various factors such as formulation, temperature, project thickness, etc. and can vary greatly from one formulation to another. Do not assume that all epoxies cure in the same amount of time; always follow the manufacturer's curing time as stated in the product literature.
Can beginners use epoxy resin at home?
That's correct, epoxy resin is suitable for numerous crafted home projects if the product safety requirements are adhered to. Always wear the proper PPE, maintain proper ventilation, protect your work area and avoid contact with children and pets unless the resin has been cured.
Why is my epoxy resin still sticky?
Problems in measuring, mixing, environment and compatibility issues can lead to sticky resin. Review the entire mixing and curing process and follow the manufacturer's instructions before making an attempt to repair the project.
Final Tips for Successful Epoxy Resin Crafts
No experience is needed to understand how to use epoxy resin. It's all about repetition. Take accurate measurements, mix thoroughly, pour carefully, prevent bubbles, protect curing project, and allow the epoxy to cure.
Pick a small project for your first one, like a coaster, key chain, pendant or a simple silicone mold. It's better to start out small and learn how your specific resin is going to behave without consuming too much of the resin.
Most importantly, read the instructions on the product each use whenever a new epoxy system is used. The mixing ratios, working time, temperature requirements, maximum pour depth and curing conditions may vary between different products.
As you get more used to the control of the resin, colors, bubbles, layers and finishing techniques you will become more comfortable. With a bit of practice, epoxy resin can be used for a variety of creative projects, ranging from home-made crafts to intricate pieces of art.