





An epoxy table top is a wonderful option to make ordinary wood, counter tops, bar tops, as well as furniture to a smooth, shiny surface that is durable. Epoxy resin can be used for protection and beauty, whether you are restoring an old tabletop or creating a new resin design from scratch.
The key to a successful epoxy table top is preparation. Good surface cleaning, correct mixing, controlled pouring, bubble removal and adequate curing time are all important in the production of a professional finish. This guide provides a step-by-step explanation of how to epoxy your table tops from preparation to finishing, as well as some common pitfalls and maintenance advice.
What Is Table Top Epoxy?
Table top epoxy is a two component coating system (resin and hardener). When reacted together properly, they form a hard, tough surface by a chemical reaction.
Table top epoxy is formulated for relatively thin coating applications, as opposed to deep-pour epoxy which is used for thicker castings and river tables. Usually is self-leveling and results in a high gloss, clear surface which is ideal for bar tops, countertops, desks, coffee tables and dining tables.
The right type of epoxy is crucial because an epoxy made for deep casting or another purpose might impact the curing process, heat generation, surface quality and overall performance.
Materials and Tools You Will Need
Set up all materials prior to beginning your project. When everything is within reach, there are no interruptions after mixing epoxy.
You may need:
- Table top epoxy resin and hardener
- Measuring or mixing cups
- Wooden or plastic mixing sticks
- Disposable gloves
- Level
- Painter's tape or packing tape
- Plastic sheeting or a drop cloth
- Epoxy spreader or notched trowel
- Heat gun or suitable torch
- Sandpaper
- Clean, lint-free rags
- Acetone or another recommended surface cleaner
- Epoxy-compatible pigments, if coloring the resin
For maximum pour thickness, temperature, curing time and mixing ratios always refer to the technical data sheet provided by the manufacturer for the specific resin being used.
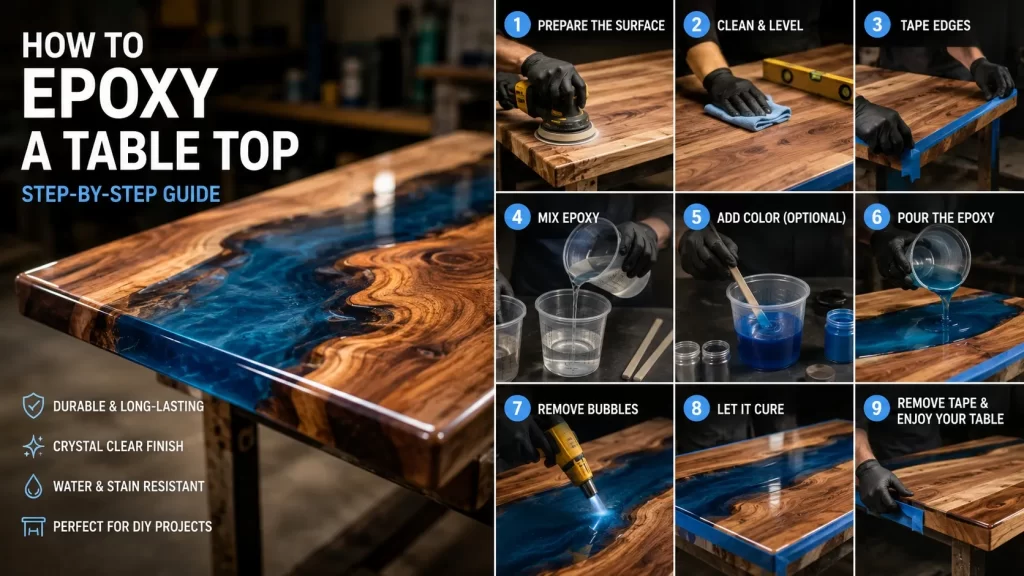
Step 1: Prepare and Level the Table
Surface preparation is a critical step in an epoxy table top project.
Ensure that the table top is level and stable. Epoxy will follow the angle of the surface since it is self leveling. A slight incline will make the resin thicker on one side and thinner on the other.
Then, remove dust, grease, wax, oil and other contaminants. Sand surface as needed for material, vacuum the sanding dust and clean the surface with a suitable solvent or cleaner. Wait for the surface to dry thoroughly before starting to epoxy.
If the table is made of wood, check the surface for cracks, knots, holes and porous spots. These can release trapped air during curing and can lead to bubbles in the cured coating.
Step 2: Protect the Work Area and Edges
Epoxy may spill on the edges of a tabletop; be sure to cover your work area before pouring.
Use a plastic drop cloth or sheeting to cover the floor or workbench. Tape the edges and bottom of the table top with painter's tape or packing tape to make it easier to remove cured drips.
To get the epoxy over the edges and to get a shiny side, place the tape under the edges rather than on the side surface.
Maintain a clean, work area relatively free of dust. Small particles may get trapped in a wet epoxy and remain visible after curing.
Step 3: Apply a Seal Coat to Porous Surfaces
A seal coat is particularly necessary when using wood or other porous materials.
Pour a small amount of mixed epoxy on top of the tabletop and cover any cracks, knots, pores and voids in the table. The reason for this first application is to provide a barrier to air leakage from the base coat during the actual flood coat. This can result in a tremendous decrease in bubbles and pinholes.
After the seal coat is sufficiently cured, check for imperfections. Rough up any rough surfaces using a suitable sanding block and remove all the dust before adding any further layers.
If the surface is not porous, and is properly prepared, a seal coat may not be required. Don't violate the instructions of the epoxy manufacturer.
Step 4: Measure and Mix the Epoxy Correctly
One of the most frequent reasons for sticky or incompletely cured epoxy is mixing it incorrectly.
Follow the manufacturer's recommended ratio of resin to hardener. Do not estimate the quantities. A slight deviation can have a significant impact on the curing process.
Combine both in a clean mixing bowl and stir gently and thoroughly. Scrape sides and bottom of container while mixing to insure that the components are thoroughly mixed.
If the product specifies a two container mixing instruction, pour into a second clean container and mix.
Don't whip the mixture too vigorously as this will let in more air.
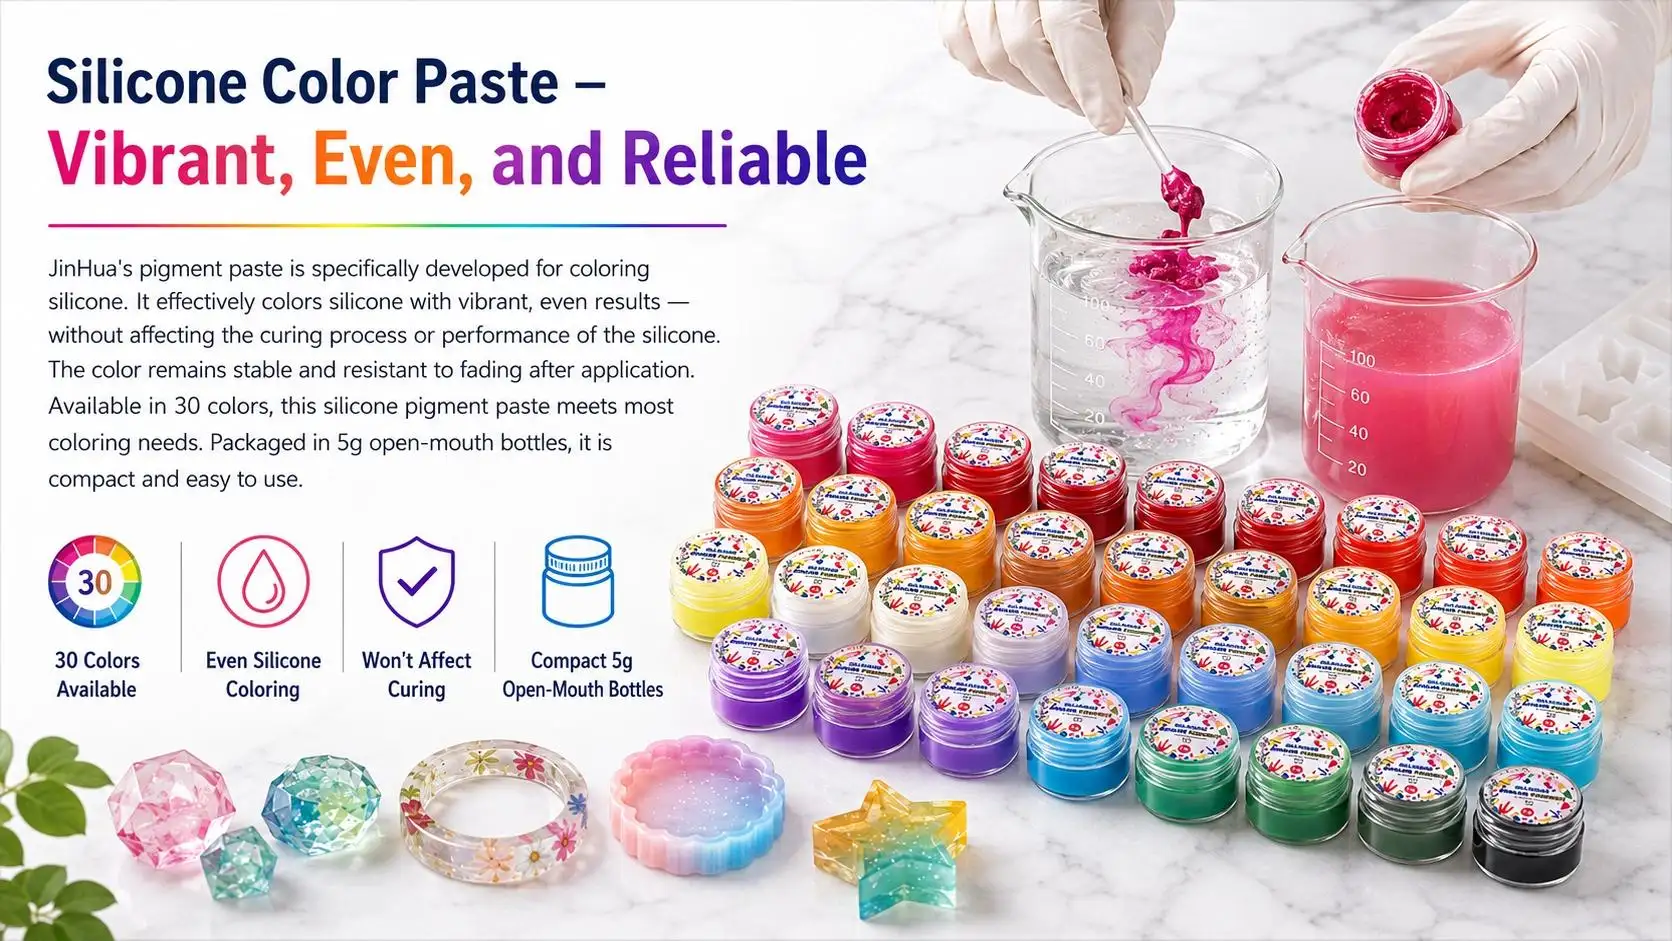
Step 5: Add Color and Decorative Effects
Clear epoxy can also be customized with compatible pigments and additives.
Popular options include:
- Mica powders
- Liquid pigments
- Pigment dispersions
- Alcohol inks
- Metallic effects
Make marble patterns, ocean designs, geode designs, metallic patterns and more.
But if too much of such additives is used, it will have an effect on curing. Check compatibility and test a small amount before putting a colored mixture on the entire table top.
Step 6: Pour the Flood Coat
When epoxy is thoroughly mixed, pour it over the table in an even pattern. Use a pour that is S shaped to spread material over the surface.
Guide the resin towards the edges with an epoxy spreader or similar device. Let the epoxy level itself and do not needlessly disturb the surface.
Be extra careful around corners and edges. If the coating should get over the sides, spread it out evenly to prevent thin spots and overcoating.
Never exceed thickness per coat as recommended by manufacturer. Some table top epoxy products allow only about 1/4" of flooding.
Step 7: Remove Air Bubbles
Some air bubbles may be left after careful mixing.
Pour and let the epoxy rest for a short period of time to allow bubbles to rise on their own. Afterwards, gently heat the surface by using a heat gun or the heat control torch.
Do not let the heat source run out of control and don't get it too close to the epoxy. Do not apply heat for extended periods in one area as this can cause damage to the coating, premature curing in one area and cause other surface issues.
Make sure to inspect the surface frequently during the early curing period; more bubbles may appear in the epoxy as it continues to cure.
Step 8: Apply Additional Coats When Necessary
Others may need multiple flood coats to obtain the desired thickness, depth or appearance.
Re-coat window as per epoxy manufacturer's recommended recoat window. If applied at the right time, a second layer can be applied that will chemically join the layers. In some cases the previous layer may have cured beyond the recommended time; in this case, light sanding to provide mechanical adhesion may be required.
If you are embedding a decorative item, like a photograph, coin, or shells, you may want to use several thin layers. This helps to prevent objects from floating or moving during the pour.
Step 9: Remove Tape and Finish the Surface
Once the epoxy has hardened enough, gently peel the edges and bottom of the sides of the tape off.
Look for drips, rough edges, dust particles or other marks on the table top. Mechanical removal and sanding are possible ways to remove cured drips.
Once the epoxy is completely cured the surface may be wet sanded and polished for an extremely smooth finish if desired.
If a scratch or surface damage occurs, it can sometimes be sanded and polished back to the original colour. More serious damage may require another thin epoxy coat.
How Long Does Epoxy Take to Cure?
The curing time will vary by the formulation and the environment.
The performance of epoxy is greatly affected by temperature. Moderate temperatures and controlled humidity will give more predictable results in general. Excessive heat may speed up the curing time, reducing the working time, and cold weather may increase the viscosity of the epoxy, making it harder to work with and potentially causing incomplete curing.
A general rule of thumb is that some table top epoxy systems can become sticky in a few hours, sandable in about a day and fully cured in several days. Always follow the manufacturer's recommended cure time and not just the general estimate.
Don't overuse or load the top of the epoxy until it has cured.
Common Epoxy Table Top Problems
Sticky or Soft Epoxy
Sticky spots are commonly associated with incorrect mixing, inaccurate ratios, insufficient mixing, or unsuitable curing conditions. Carefully follow the manufacturer's mixing instructions.
Bubbles
Bubbles can result from porous wood, aggressive mixing, trapped air, or unsuitable application conditions. A seal coat and controlled bubble removal can help.
Uneven Surface
An uneven tabletop may result from an unlevel work surface, insufficient material, or improper spreading. Check the level before pouring.
Dust in the Finish
Dust and debris can become trapped in wet epoxy. Prepare a clean workspace and minimize movement around the project while the coating is curing.
Yellowing
Epoxy can change color over time, particularly with prolonged UV exposure. For projects exposed to strong sunlight, consider an appropriate UV-resistant protective topcoat recommended for use with epoxy.
How to Maintain an Epoxy Table Top
Once fully cured, epoxy countertops and tables are relatively easy to maintain.
Clean the surface with mild soap and water and a soft cloth. Avoid harsh chemicals, abrasive cleaners, and aggressive scrubbing that could damage the finish.
Use coasters, placemats, and protective pads to reduce scratches and heat exposure. Although cured epoxy is durable, it should not be treated as completely scratch-proof or heat-proof.
For outdoor or high-UV applications, choose a suitable UV-resistant topcoat or finish when recommended by the epoxy manufacturer.
Frequently Asked Questions
Can you epoxy directly over wood?
Yes, but porous wood generally benefits from a thin seal coat first. Sealing helps reduce air release from the wood during the main coating process.
How thick should table top epoxy be?
The appropriate thickness depends on the product. Many table top epoxy systems are intended for relatively thin flood coats, often around 1/8 to 1/4 inch per coat. Always follow the product's technical specifications.
Can you add pigment to epoxy?
Yes. Depending on the type of epoxy, there are many compatible mica powders, pigments or liquid colourants available to colour the epoxy. Check out the colorant and dose before applying it to the art piece.
Why did my epoxy table top not cure?
This can be due to incorrect ratio of resin to hardener, poor mixing, cold temperatures, or contamination. Check the product instructions and curing conditions to determine the issue.
Final Thoughts
The basic skill of epoxying a table top is to master the process. Begin with a level surface, have the right table top epoxy, measure precisely, mix well, seal any porous materials and pour within thickness recommended.
Important too, is the removal of the bubbles, the control of the temperature and a certain patience when curing. When used and prepared properly, epoxy resin can turn a plain tabletop into a smooth, shiny, beautiful surface.
You can use epoxy for a modern dining table, a decoratively finished wooden coffee table, a bar top or for your decorative resin art project, and it's how you apply it that can make all the difference.