





Many resin art pieces are created in clear epoxy resin, and turning them into a colorful, decorative and very personalized design can be achieved very easily with coloring. The type of epoxy you are using, whether for a river table, countertop, jewelry, artwork, coaster, mold casting or any other decorative project, the colorant you select can make a dramatic difference in the final appearance.
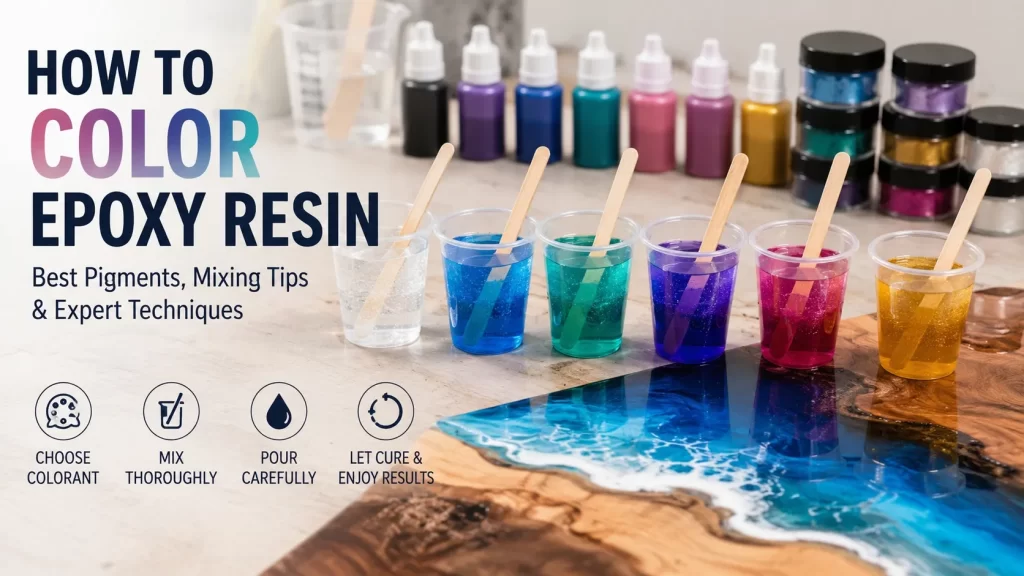
The secret to a successful colored epoxy is to select an epoxy compatible colorant, the correct amount of colorant, and to be aware of the effects of the color concentration on transparency, opacity, curing and finish.
Learn how to color epoxy resin and which pigments and dyes work best, how much to add, and common pitfalls.
What Can You Use to Color Epoxy Resin?
Some of the most commonly used epoxy colorants are mica powder pigments, liquid resin dyes, alcohol inks, pigment pastes and some special colorants. Not all coloring products can be used with epoxy, though. Always use a colorant that has been developed or recommended to be used for resin.
1. Mica Powder Pigments
For epoxy resin, one of the most popular options is mica powder, which can be used to produce colorful, metallic, pearlescent and shimmering effects. The fine particles reflect light and provide colored epoxy with a unique depth.
Mica pigments are ideal for use with:
- River tables
- Resin art
- Jewelry
- Coasters
- Decorative trays
- Marbled effects
- Metallic finishes
The intensity of colour and transparency depends on the amount of mica powder used. Some of it makes a light color, and some makes a dark one.If there's a little of it, it'll give a light color, if there's a lot of it, it'll give a dark, opaque color.
2. Liquid Resin Dyes
Liquid resin dyes are highly concentrated and are formulated to distribute evenly in epoxy. They are best used for an even, transparent or translucent colour.
Liquid dyes are more applicable for:
- Transparent casting
- Ocean effects
- Stained-glass-style projects
- Translucent river effects
- Colored coatings
Liquid dyes are very strong dyes so start with a little dye and add gradually more dye for more colour. Excessive initial additions will darken and reduce transparency of the resin considerably.
3. Alcohol Inks
Alcohol inks can create bright colors and designs. They are frequently used to create artistic looks, instead of plain, even coloring.
However, different resin systems may not be compatible with each other. Always experiment and test with a small sample before applying alcohol ink in a large or valuable project.
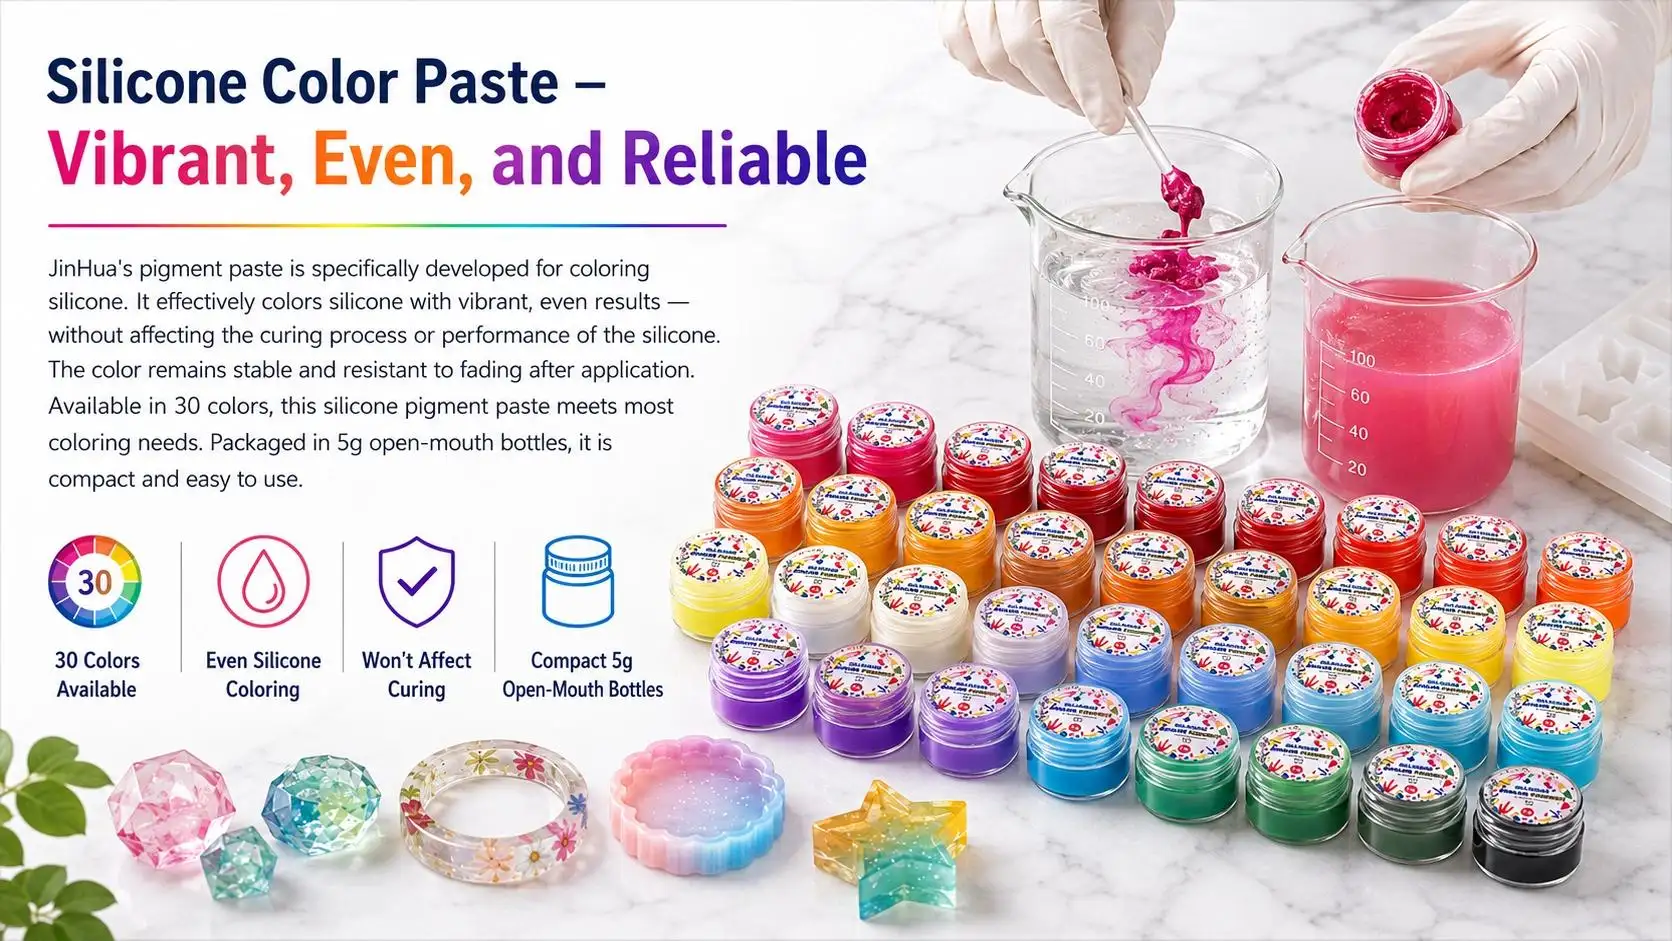
4. Pigment Pastes
Pigment pastes can be used for opaque finishes and offer concentration and strength, if needed. They are often chosen for decorative and artistic purposes over transparency.
Pigment vs. Dye: Which Is Better?
There is no single best colorant for every epoxy project. The right option depends on the appearance you want.
| Colorant | Typical Appearance | Best For |
|---|---|---|
| Mica powder | Shimmering, metallic, pearlescent | Resin art and decorative projects |
| Liquid dye | Smooth, transparent or translucent | Clear and deep-color effects |
| Alcohol ink | Vibrant and flowing | Artistic patterns |
| Pigment paste | Strong and opaque | Solid colors |
If you want a uniform transparent color, liquid resin dye is often a good choice. If you want sparkle, metallic effects, or visual movement, mica powder can be a better option.
How to Color Epoxy Resin Step by Step
The coloring process is straightforward, but accurate measuring and thorough mixing are essential.
Step 1: Measure the Epoxy Correctly
Before adding color, carefully measure the resin and hardener according to the manufacturer's specified mixing ratio.
Do not change the resin-to-hardener ratio to compensate for colorant. Different epoxy products may have different mixing ratios, so always follow the product instructions.
Incorrect proportions can result in soft, sticky, or improperly cured epoxy.
Step 2: Prepare a Clean Mixing Container
Use a clean, dry mixing cup and appropriate mixing tools. Even small amounts of water, dust, oil, or other contaminants can affect the final result.
Prepare your colorants before mixing so you can work efficiently within the epoxy's pot life.
Step 3: Add a Small Amount of Colorant
Start with less colorant than you think you need.
This is particularly important when working with concentrated liquid dyes and pigments. You can gradually increase the color intensity, but removing excess colorant from the mixture is much more difficult.
For mica powder, one commonly cited starting point is approximately 1 gram of powder per 8 fluid ounces of epoxy, although the ideal amount depends on the specific pigment, resin, and desired appearance. Always follow the colorant manufacturer's recommendations when available.
Step 4: Mix Thoroughly
Mix the colorant into the epoxy carefully and evenly.
Scrape the sides and bottom of the mixing container while stirring. Incomplete mixing can create streaks, pigment clumps, or inconsistent color.
At the same time, avoid excessively aggressive mixing because introducing too much air can create bubbles.
Step 5: Check the Color
Remember that the color in the mixing cup may look different from the final cured result.
The thickness of the epoxy, transparency of the resin, lighting conditions, and color of the underlying surface can all affect how the finished color appears.
For important projects, make a small test sample first.
Step 6: Pour the Colored Epoxy
Once the color is evenly dispersed, pour the epoxy into your mold or onto the prepared surface.
For artistic designs, you can divide the epoxy into several smaller containers and create different colors. Pouring multiple colors together can produce attractive swirls, gradients, veins, and marbled patterns.
How Much Colorant Should You Add to Epoxy?
The correct amount depends on the colorant, epoxy system, and desired opacity.
A useful principle is:
Start small → mix thoroughly → evaluate → gradually add more.
If you want translucent epoxy, use a relatively small amount of colorant. If you want an opaque appearance, more pigment may be necessary.
However, adding excessive amounts of colorant can potentially affect the resin's properties or curing behavior, depending on the product. For that reason, avoid treating colorant as an unlimited additive.
Always check the manufacturer's recommended maximum loading.
How to Create Different Epoxy Color Effects
Coloring epoxy is not limited to producing one solid color. You can use different techniques to create customized visual effects.
Solid Colors
For a consistent solid color, choose a suitable opaque pigment and mix it thoroughly into the epoxy.
This works well for countertops, decorative surfaces, furniture accents, and molded pieces.
Transparent Effects
Use a small amount of liquid resin dye to create a transparent or translucent appearance.
This technique allows light to pass through the epoxy while still adding color, making it suitable for decorative castings and artistic projects.
Marbled Effects
Prepare several small batches of differently colored epoxy. Pour them next to or over one another and gently manipulate the surface.
The final pattern depends on factors such as pouring speed, viscosity, batch size, and the shape of the substrate.
Metallic Effects
Mica powders can create attractive metallic and pearlescent finishes. Combining complementary colors can produce additional depth and dimension.
Multi-Color River Table Effects
For an epoxy river table, you can prepare separate batches of blue, green, black, white, or metallic epoxy. Carefully pouring these colors into the river section can create layered or flowing patterns.
The working time of the epoxy is important when preparing several colors. All batches need to remain workable long enough to complete the pour.
Common Mistakes When Coloring Epoxy
Adding Too Much Colorant
One of the most common mistakes is adding excessive pigment or dye immediately.
Too much colorant can make epoxy excessively opaque and may interfere with the intended appearance or performance. Start with a small quantity and increase gradually.
Using the Wrong Type of Paint
Not every household paint or coloring product is suitable for epoxy. Some products contain water, solvents, oils, or other components that may interfere with curing.
Use colorants specifically formulated for epoxy or confirmed by the manufacturer to be compatible.
Ignoring the Background Color
The substrate can significantly influence the appearance of colored epoxy.
For example, a translucent blue resin may appear different over dark walnut than over pale maple. A dark substrate can make transparent colors appear deeper or less vibrant.
Mixing Different Colors Too Aggressively
If you want distinct color layers or veins, excessive mixing can turn several colors into a muddy-looking blend.
Use controlled pouring and gentle manipulation when creating patterns.
Forgetting the Epoxy's Working Time
Colored epoxy is still curing epoxy. Preparing multiple batches takes additional time, so plan the workflow before mixing.
Tips for Better Colored Epoxy Results
For consistently attractive results, follow these best practices:
- Use epoxy-compatible pigments or dyes.
- Measure resin and hardener accurately.
- Start with a small amount of colorant.
- Add more color gradually.
- Mix thoroughly without unnecessarily introducing air.
- Test colors before large pours.
- Consider the color of the substrate.
- Keep track of your pigment-to-resin ratio.
- Respect the epoxy's working time.
- Follow the resin and colorant manufacturer's instructions.
Keeping notes of your successful color formulas can also make it easier to reproduce a specific shade in future projects.
Frequently Asked Questions About Coloring Epoxy Resin
Can you add food coloring to epoxy resin?
Epoxy is not the best material to be used with food coloring, since it may contain water or other components that are incompatible with the resin system. Where possible, use a colourant that is available specifically for use in epoxy.
Can you mix different mica powders?
Yes. If you want to produce a specific colour or effect, it is possible to mix mica colours together. An experiment, if possible, should be conducted using a small sample before using it for a large project.
Can you make epoxy completely opaque?
Yes. You can achieve a solid colour with a good amount of opaque pigment. The suggested pigment loading should always be adhered to, however.
Why does my colored epoxy look different after curing?
The colour may vary due to different thickness, lighting, transparency, substrate colour and curing process. The final appearance can best be judged from a small cured test specimen.
Can you use multiple colors in one epoxy project?
Absolutely. Several different colors of epoxy can be mixed all at once to form gradients, swirls, marbles, veins and patterns.
Final Thoughts
Knowing how to color epoxy resin provides you with a lot more control of the appearance of resin projects. For smooth, transparent or translucent colours, liquid resin dyes are suitable, and for shimmering and metallic pigments, mica powder pigments are suitable. Other colorants which are compatible with the process may be used for special artistic effects.
The first rule of the game is to use a small quantity of colouring and work up to it. Always pay attention to the right resin to hardener ratio, mixing right materials, testing the color before a large pour and substrate aesthetics.
By using the right colorant, careful mixing and a bit of experimentation, it is possible to create clear epoxy that can be almost any color or visual effect possible—from subtle translucent finishes to bold metallic surfaces and dramatic multi-color designs.