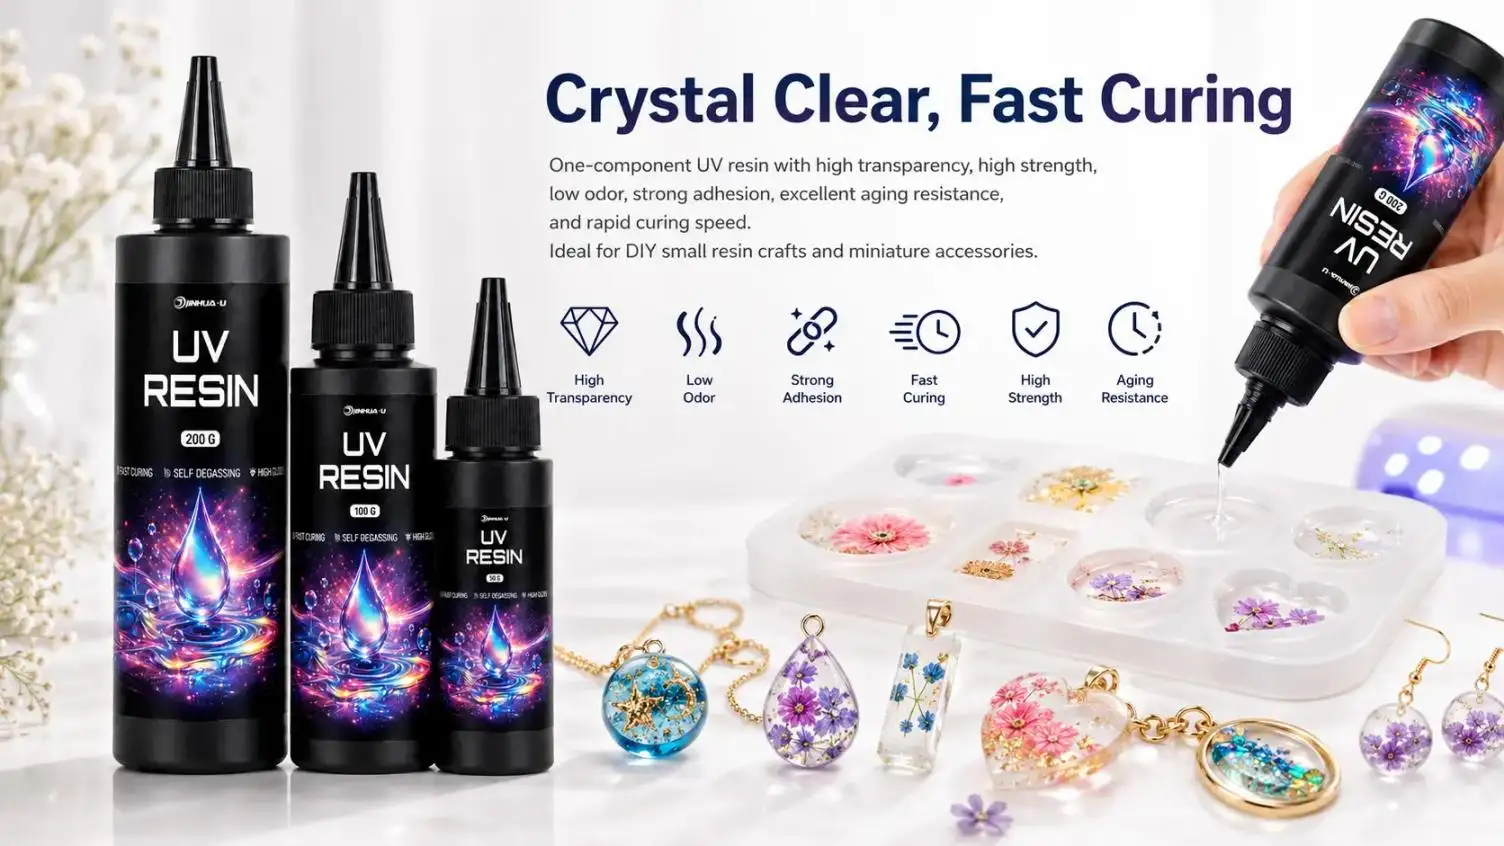






The jewelry makers have found the UV resin to be popular because of its excellent clarity, easy application, and quick curing. As opposed to two-part epoxy resin which requires mixing, UV resin is usable straight out of the bottle and is cured using UV light. It is particularly helpful for small jewelry items like earrings, pendants, rings, charms and decorative bezels.
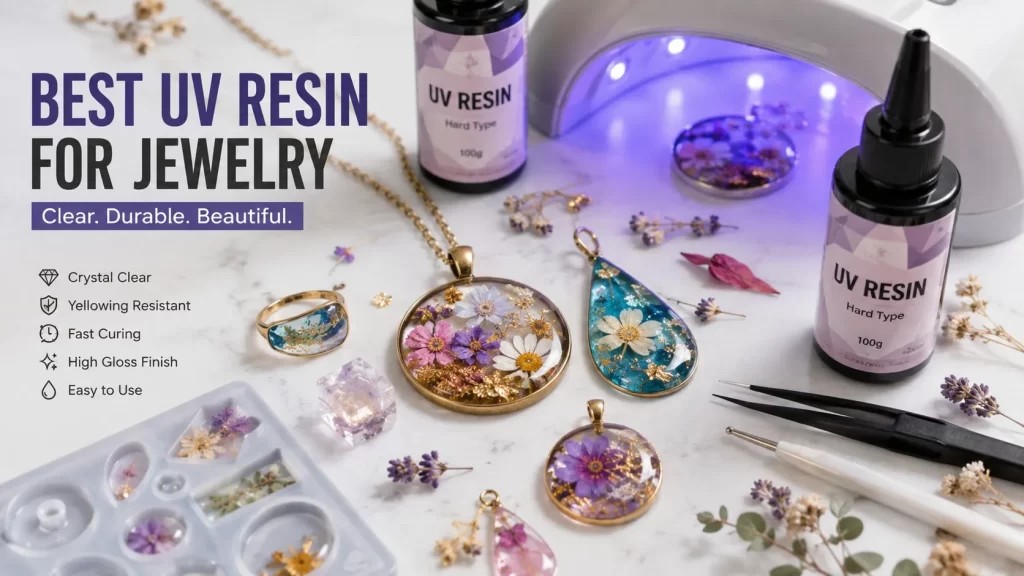
But not all UV resins are created equal. Final results can be impacted by viscosity, hardness, clarity, curing performance, yellowing resistance and compatibility to your UV lamp. The selection of the best UV resin for jewellery then relies on the type of jewellery you desire and the desired finish.
What Is UV Resin?
UV resin is a single component liquid polymer that can cure when exposed to UV. Many light jewellery items can be cured in a few minutes using the right UV lamp and this means that many jewellers can make a product in a much quicker time than using conventional epoxy resin.
Another benefit of using UV resin is that there is no need to mix resin and hardener, which is one of the most common epoxy mixing issues faced by novices. The resin can be cast, colored, layered and cured as desired.
Jewelry applications are of special interest: UV resin can create a smooth and shiny, glass-like finish while maintaining the look of embedded decorations.
UV Resin vs. Epoxy Resin for Jewelry
Whether a project is UV resin or epoxy resin will depend greatly on the size and thickness of the project.
Typically the UV resin has advantages in:
- Small pendants and charms
- Earrings
- Thin rings and decorative pieces
- Jewelry bezels
- Thin molds
- Quick repairs and surface coatings
- Projects requiring multiple thin layers
Epoxy resin is generally better for:
- Large castings
- Deep pours
- Thick jewelry pieces
- Projects where UV light cannot reach the entire resin layer
- Larger artistic designs
Both UV resin and epoxy resin can be cured by UV light, but epoxy resin requires some chemical reaction to occur between the resin and hardener. Epoxy products will usually take a much longer cure time but will work well in thicker coatings.
The UV resin allows for quick and effortless jewelry projects, which can be particularly beneficial for those that involve intricate designs or small pieces.
What Makes the Best UV Resin for Jewelry?
Don't only look at the price when you are comparing UV resin products. A good formulation could make your jewelry easier to make and help to make the jewelry that is finished more beautiful and durable.
1. Crystal-Clear Appearance
Clarity is one of the most vital properties of jewelry resin. The appearance of a good clear UV resin should be transparent, shiny with good clarity, and should not obscure the decorative elements, glitter, dried flowers or pigments.
Transparency is especially critical if you're designing transparent pendants or inserting flowers and other small items into the pendant.
2. Yellowing Resistance
When exposed to environmental conditions, all resin materials can change appearance over time, even from long exposure to UV. If you're making jewelry that will be worn long term, select one that's formulated for good yellowing resistance.
Storage is also of importance. Store unused resin in a tightly closed container, and out of direct sunlight and heat.
3. Appropriate Viscosity
The viscosity is a measure of the flow of the resin.
The low viscosity UV resin can be used for thin clearance, detailed mold and intricate design. Can be helpful when filling small gaps and forming thin layers.
High viscosity UV resin is thicker and may be used for doming, coating of surfaces, and raised glossy effects.
When it comes to jewelry making, a proper viscosity can minimize bubbling and help create the desired shape.
4. Hardness
Hard UV resin is often chosen for jewelry items that require a firm and shiny finish. Can be used to create a smooth finish in earrings, pendants, charms and decorative elements.
There are other types of UV resin, such as flexible or soft, which may be suitable for projects that demand flexibility.
Never assume harder is better when deciding which resin to use, always match its hardness to the intended use.
5. Reliable Curing
A good quality UV resin will cure uniformly when heat is applied to a suitable UV light source. Resin thickness, pigment concentration, lamp output, wavelength and exposure time are some of the factors that affect the curing performance.
Always follow manufacturer's recommended curing instructions.
Choosing the Right UV Lamp
There is no point in any UV resin if it is not exposed to UV.
A wide, uniform UV light is usually easier to use for jewelry work than a small one, as it is able to highlight a greater surface area. Typical lamps used for curing the products of some manufacturers are in the range of about 36–54 watts, but the wattage range is not a determining factor in curing performance.
If needed, turn the jewelry or cure different sides if it is thicker. If the piece is still soft or sticky, it will need more curing.
How to Make Jewelry With UV Resin
The basic process is simple:
Step 1: Prepare Your Workspace
Work on a clean, level surface in a well-ventilated area. Wear appropriate protective equipment, including gloves and eye protection, and follow the resin manufacturer's safety instructions.
Step 2: Prepare Your Mold or Bezel
Silicone molds are popular because cured resin can usually be removed easily. For bezels, make sure the surface is clean and stable before adding resin.
Step 3: Add a Thin Layer of Resin
Pour a small amount of resin into the mold or bezel. Avoid filling a deep cavity in one step. Thin layers are easier to cure thoroughly.
Step 4: Add Decorations
You can incorporate glitter, pigments, beads, dried flowers, foil, small charms, and other decorative elements. Make sure embedded materials are compatible with resin and are fully encapsulated.
Step 5: Cure Under UV Light
Place the piece under the UV lamp according to the resin manufacturer's recommended curing time. For layered designs, cure each layer before adding the next.
Step 6: Add the Final Layer
A final clear layer can create a smooth, glossy surface and a domed appearance. Check the edges carefully to make sure the resin is evenly distributed.
Step 7: Inspect and Finish
After curing, check the jewelry for soft areas, bubbles, sharp edges, or surface imperfections. Additional curing, sanding, or polishing may be necessary to achieve the desired finish.
How to Prevent Bubbles in UV Resin Jewelry
Bubbles are one of the most common problems when making resin jewelry. To reduce them, pour slowly and avoid aggressively stirring the resin.
If bubbles appear, use a fine tool such as a toothpick to guide them toward the surface before curing. Allowing the resin to rest briefly can also help trapped air rise.
For professional-quality production, specialized bubble-removal equipment may provide additional control.
How to Avoid Sticky UV Resin
A sticky or soft surface usually indicates incomplete curing or insufficient UV exposure. Possible causes include excessive thickness, inadequate lamp exposure, heavy pigmentation, or incompatibility between the resin and light source.
Try these solutions:
- Cure thinner layers.
- Increase curing time according to manufacturer instructions.
- Rotate the piece to expose different surfaces.
- Reduce the amount of opaque pigment.
- Use a compatible UV lamp.
- Allow additional post-curing when recommended.
Do not assume that a longer curing time can solve every problem. If the resin formulation or lamp is unsuitable for the application, simply increasing exposure may not produce the desired result.
Creative UV Resin Jewelry Ideas
Once you understand the basics, UV resin opens up many design possibilities. You can create transparent flower pendants, glitter earrings, personalized charms, colorful rings, geometric cabochons, and layered decorative pieces.
Layering is especially effective for creating visual depth. A clear base layer can be followed by decorative elements and colored resin, then finished with a transparent top layer. This approach can create a dimensional, three-dimensional appearance.
Frequently Asked Questions
Is UV resin good for making jewelry?
Yes. UV resin is particularly well suited to small, thin jewelry pieces because it cures quickly and can produce a glossy, transparent finish.
How thick can UV resin be for jewelry?
The maximum thickness is dependent on the formulation and UV lamp used. Thicker designs, usually, are safer to cure in several thin layers than make one thick pour.
Does UV resin turn yellow?
UV resin may discolor or become yellow over time, depending on the formulation and the environmental conditions. Finished products should be stored out of direct sunlight and the right resin should be selected to avoid yellowing.
Is UV resin better than epoxy for jewelry?
There is no overall "best" or "worst" answer. For small thin projects and quick production, UV resin is more convenient, and for large or deeper castings, epoxy resin is better.
Final Thoughts
The best UV resin for jewelry is not necessarily the quickest curing or the most cost effective. Search for a product with very good clarity, viscosity, reliable cure, hardness and yellowing resistance.
A beginner's favorite resin is UV resin, as it can be used without two-part mixing and does not take long to make a design. It cures and layers quickly, giving more opportunities for detailed and creative design for experienced jewelry makers.
At the end of the day, the type of resin you use, the type of UV lamp that is used, thin layers and safety and curing are as important as the resin is in the final product.