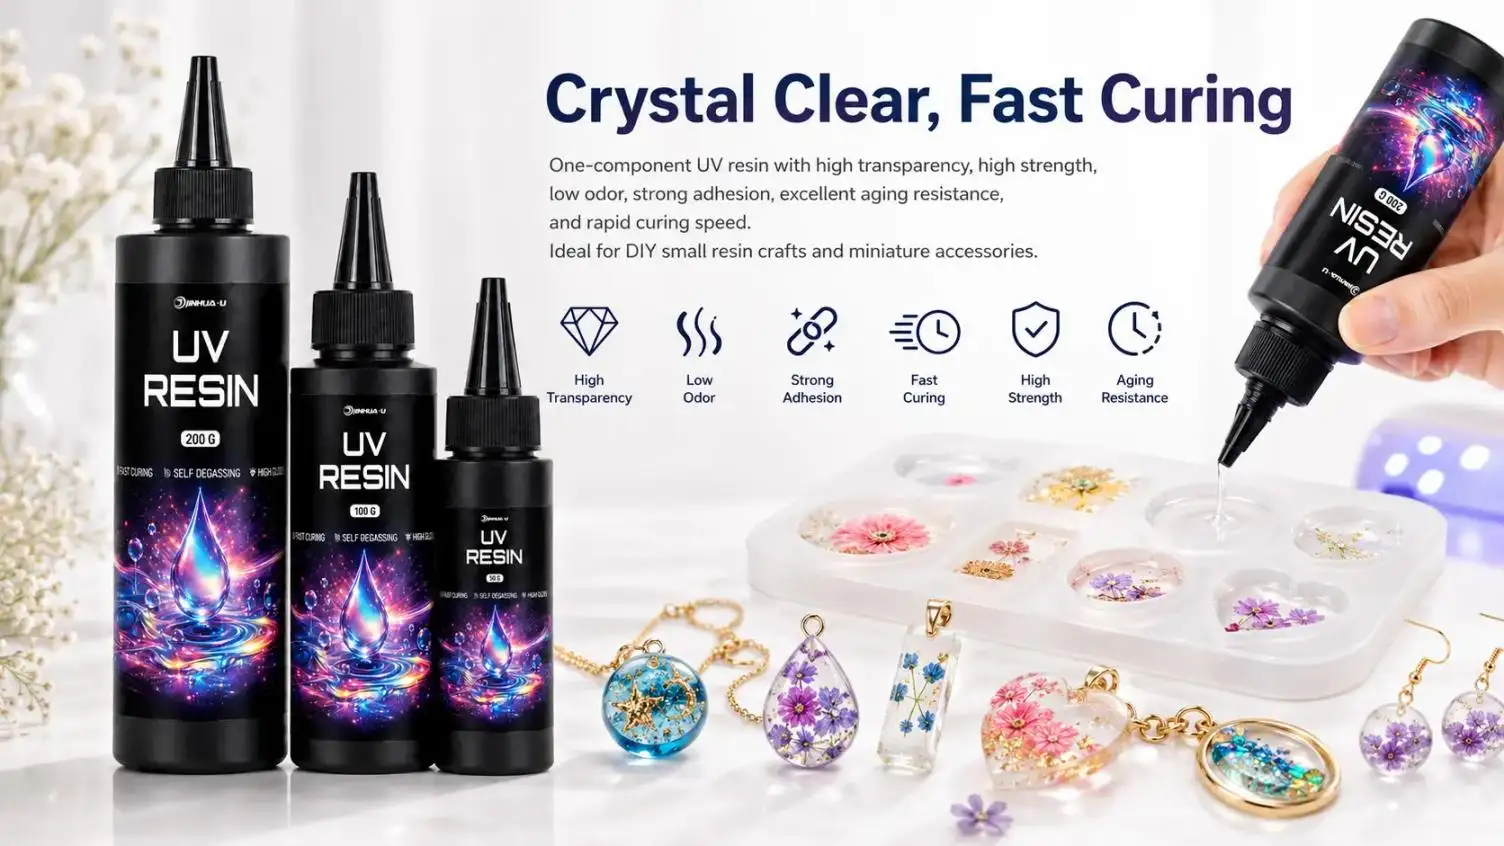






The right kind of UV light for curing resin can have a huge impact on resin projects in terms of speed, hardness, clarity and quality. Correct use of a UV lamp will ensure even cure of the resin, and an incorrect UV light will result in sticky, soft, cloudy or partially cured surfaces.
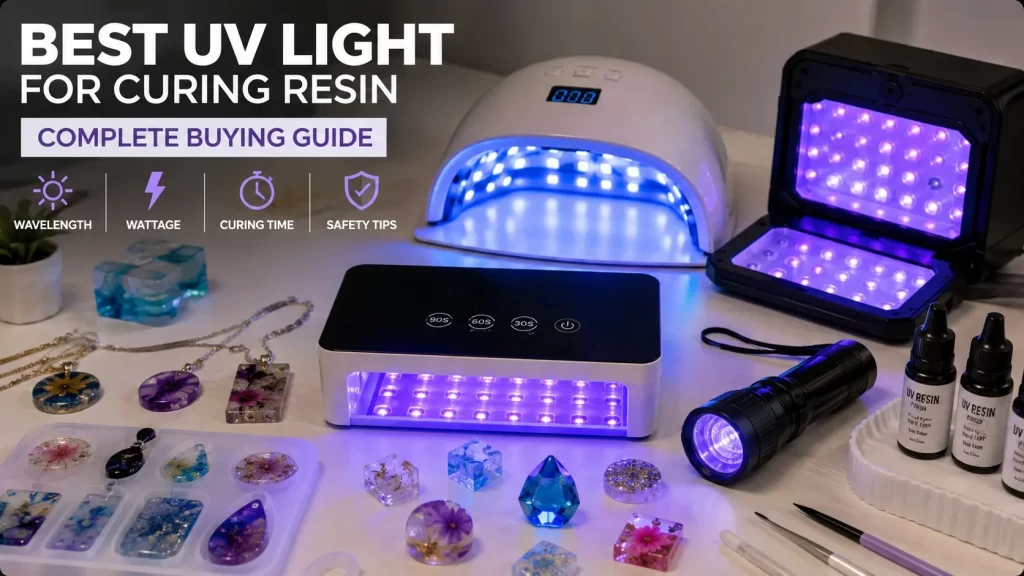
UV resin is not the same as the two-part epoxy resin because it cures using ultraviolet light. The resin has photoinitiators that are sensitive to certain wavelenghts, therefore the selection of an appropriate UV light is more critical than purchasing the lamp with the highest wattage.
From resin jewelry to charms, tumblers, decorations, molds, and small DIY projects, this guide will cover the things you look for in a UV curing light and how to achieve the best results.
What Is the Best UV Light for Curing Resin?
The best UV light for most projects that involve using UV resin is the one recommended by the resin manufacturer that has sufficient intensity and coverage for the project.
Various craft UV resins work in the UVA range of 365-405 nm. But it's always important to consider the compatibility of the wavelengths as each resin type may require different photoinitiators.
A curing light should be able to offer:
- Compatible UV wavelength
- Consistent light output
- Even coverage
- Appropriate curing intensity
- A practical curing area
- Convenient controls or timers
- Good heat management
Rather than based on just the wattage of the lamp, a combination of wavelength, intensity of the light, exposure time, and coverage should be considered.
365nm vs. 395nm vs. 405nm UV Light
One of the most common questions among resin crafters is which wavelength is best.
365nm UV Light
A 365nm lamp produces UVA light toward the shorter-wavelength end of the commonly used curing range. Some UV resin formulations respond particularly well to this wavelength.
It can be useful when your resin manufacturer specifically recommends 365nm. However, a 365nm lamp is not automatically better for every resin.
395nm UV Light
395nm is widely used for craft applications and is compatible with many UV resin formulations. It offers a practical balance between availability and curing performance.
For general resin jewelry, decorations, charms, and other small projects, 395nm can be a convenient choice when it matches the resin's specifications.
405nm UV Light
405nm is another common wavelength, especially in UV-curing and 3D-printing applications. Certain UV resins are formulated specifically to respond well to this wavelength.
The key takeaway is simple: do not choose 365nm, 395nm, or 405nm based only on popularity. Check the resin manufacturer's recommended wavelength first.
How Many Watts Should a UV Resin Lamp Have?
Wattage is useful, but it should not be the only specification you consider.
Some craft guides recommend around 36 watts or higher for general UV resin curing, but a higher wattage number does not automatically mean faster or better curing.
What matters is how much usable UV energy actually reaches the resin.
A lamp with high advertised wattage may still perform poorly if its LEDs are poorly positioned or the light is unevenly distributed. Modern curing guidance increasingly emphasizes irradiance and dose rather than wattage alone.
For this reason, compare:
- Wavelength
- UV intensity
- LED layout
- Coverage area
- Recommended curing time
- Distance between the lamp and resin
A well-designed 36W lamp may produce more consistent results than a poorly designed lamp with a much higher advertised wattage.
4 Types of UV Lights for Resin Curing
Different projects benefit from different lamp designs.
1. UV Resin Flashlights
UV flashlights are excellent for detailed or irregularly shaped projects.
Because you can direct the beam exactly where you need it, a flashlight works well for:
- Resin jewelry
- Small decorations
- Tumblers
- Curved surfaces
- Hard-to-reach areas
- Spot curing
The main advantage is flexibility. You can move the light around the project and cure different areas individually.
The disadvantage is that curing requires more manual work. Battery-powered models may also require replacement or recharging.
2. Foldable UV Resin Lamps
Foldable UV lamps are convenient for small and medium-sized projects. You place the resin underneath the lamp, select a timer, and allow the light to cure the piece.
Many models use multiple LEDs to provide broader coverage. Timer settings can also make curing more repeatable.
This type is particularly suitable for crafters who regularly make jewelry, charms, small molds, and decorative pieces.
3. Double-Sided UV Lamps
Double-sided lamps direct UV light toward both the top and bottom of a project.
This can reduce the need to flip the piece manually and may improve curing consistency when light can reach both surfaces.
However, these lamps are generally better suited to relatively small objects that fit within the curing area.
4. Square or Standalone UV Lights
Standalone UV lights can be useful for larger projects. Instead of placing the entire project inside a small curing chamber, you can position the lamp beside the object and move or rotate the project as necessary.
This approach can work particularly well for larger decorative pieces or projects mounted on a turntable.
How Long Does UV Resin Take to Cure?
There is no universal curing time for every UV resin.
Thin layers can often cure within a few minutes, while thicker, darker, or more heavily pigmented resin may require additional exposure. Some formulations may cure in around one minute or less under suitable conditions, while other projects require several curing cycles.
Curing time depends on:
- UV wavelength
- Light intensity
- Resin formulation
- Layer thickness
- Resin color
- Pigment concentration
- Distance from the lamp
- Project shape
- Temperature
For reliable results, follow the curing time recommended by your resin manufacturer rather than relying on a universal timer.
7 Tips for Better UV Resin Curing
1. Cure Both Sides
UV light may not penetrate completely through a thick or opaque piece.
If possible, cure the top, flip the project, and cure the bottom. Rotating the piece can also help eliminate areas that receive insufficient light.
2. Use Thin Layers
Applying UV resin in thin layers is one of the easiest ways to improve curing.
Instead of creating one thick layer, build the project gradually and cure each layer individually. This allows UV light to reach more of the resin and reduces the risk of an uncured interior.
3. Avoid Excessive Pigment
Dark pigments and heavy colorants can block UV light.
If your resin contains too much pigment, UV energy may not penetrate deeply enough to cure the material underneath. For heavily colored projects, thinner layers are generally preferable.
4. Keep the Lamp Close Enough
The distance between the UV lamp and the resin affects the amount of UV energy reaching the surface.
Follow the manufacturer's recommended working distance. Moving the lamp farther away can significantly reduce curing effectiveness.
5. Remove Bubbles Before Curing
Bubbles can interfere with the appearance and consistency of a finished resin piece.
Allow bubbles to rise and remove them before the final curing stage. A clean, smooth surface generally produces a better result.
6. Control Your Working Environment
Temperature can influence resin behavior and curing performance. Extremely cold or hot conditions may produce inconsistent results.
Keep your workspace within the temperature range recommended by the resin manufacturer.
7. Check the Finished Surface
After curing, inspect the piece carefully.
A properly cured surface should normally feel hard rather than liquid or noticeably soft. If the surface remains tacky, consider whether the resin received enough UV exposure or whether the wavelength is compatible with the formulation.
Why Is My UV Resin Still Sticky?
A sticky surface does not always mean that your UV lamp is defective.
Common causes include:
- Insufficient curing time
- Incorrect wavelength
- Weak or poorly distributed UV output
- Excessive resin thickness
- Too much pigment
- Insufficient exposure to certain areas
- Surface oxygen inhibition
- Resin that is past its recommended shelf life
Repeat the process of curing, in shorter cycles, exposing different sides. If it doesn't, see if the lamp and resin are compatible.
Can You Use a Nail Lamp to Cure UV Resin?
Some UV resins may be cured with a nail lamp however compatibility does not exist.
There are many nail lamps with the UV/LED wavelengths overlapping with craft resins. The wavelength, intensity, lamp shape and curing area, however, may be quite variable.
When looking for consistency, the best bet is to use a UV lamp that is built for your resin. Always check with the resin manufacturer's specifications versus the lamp's actual output.
Can a Black Light Cure UV Resin?
A conventional black light should not automatically be considered a suitable resin-curing lamp.
Black lights do give off ultraviolet radiation but the wave length and intensity might not be suitable for the photoinitiators in your resin. A dedicated UV resin curing lamp is typically a more suitable choice as it is designed to provide the wavelength and intensity required for curing.
UV Resin Curing Safety
UV light may be damaging to eyes and skin, so take precautions.
If using UV curing lamps:
- Avoid looking directly into UV LEDs.
- Use appropriate UV-rated eye protection when required.
- Avoid exposing your skin unnecessarily.
- Keep children and pets away from active UV lamps.
- Follow the manufacturer's safety instructions.
- Work in a clean, well-ventilated area when handling uncured resin.
Keep in mind that uncured resin is not a safe material for handling when it is UV cured. Use skin protection and handling according to the manufacturer of resin.
Final Thoughts: Choosing the Best UV Light for Resin
The most powerful and expensive model of UV light is not always the best for curing resin. The right choice is the one that matches the recommended wavelength of your resin as well as offers the necessary exposure time for the thickness, colour and size of your project.
The 365-405nm range is a critical one to consider for most craft applications, however, always check the manufacturer's suggestion.
A UV flashlight is great for small projects with lots of detailed work. A foldable curing lamp is easy to use for multiple jewelry and craft applications, and double-sided lamps can help cure smaller items quickly. Bigger standalone lights work great for bigger objects.
Most importantly, do not assess a UV lamp based on the wattage. The curing performance depends on wavelength compatibility, real light intensity, coverage, curing distance and exposure time.
When the proper lamp is used with thin, controlled applications of UV resin, you can get excellent, harder, clearer results in a variety of resin crafts.