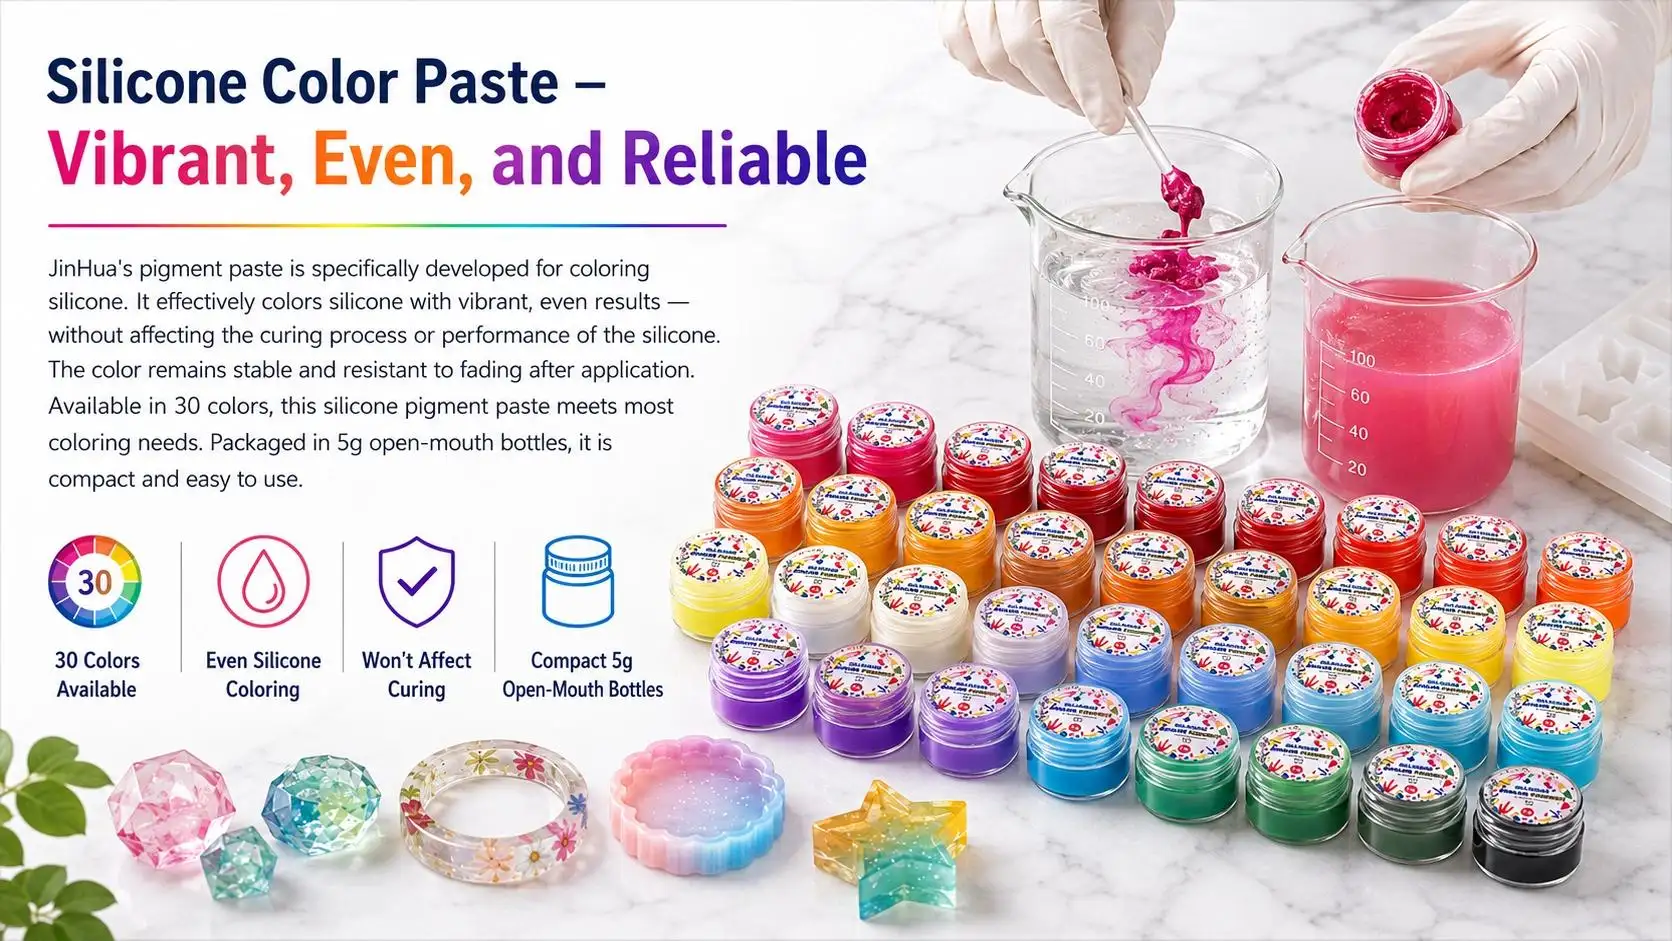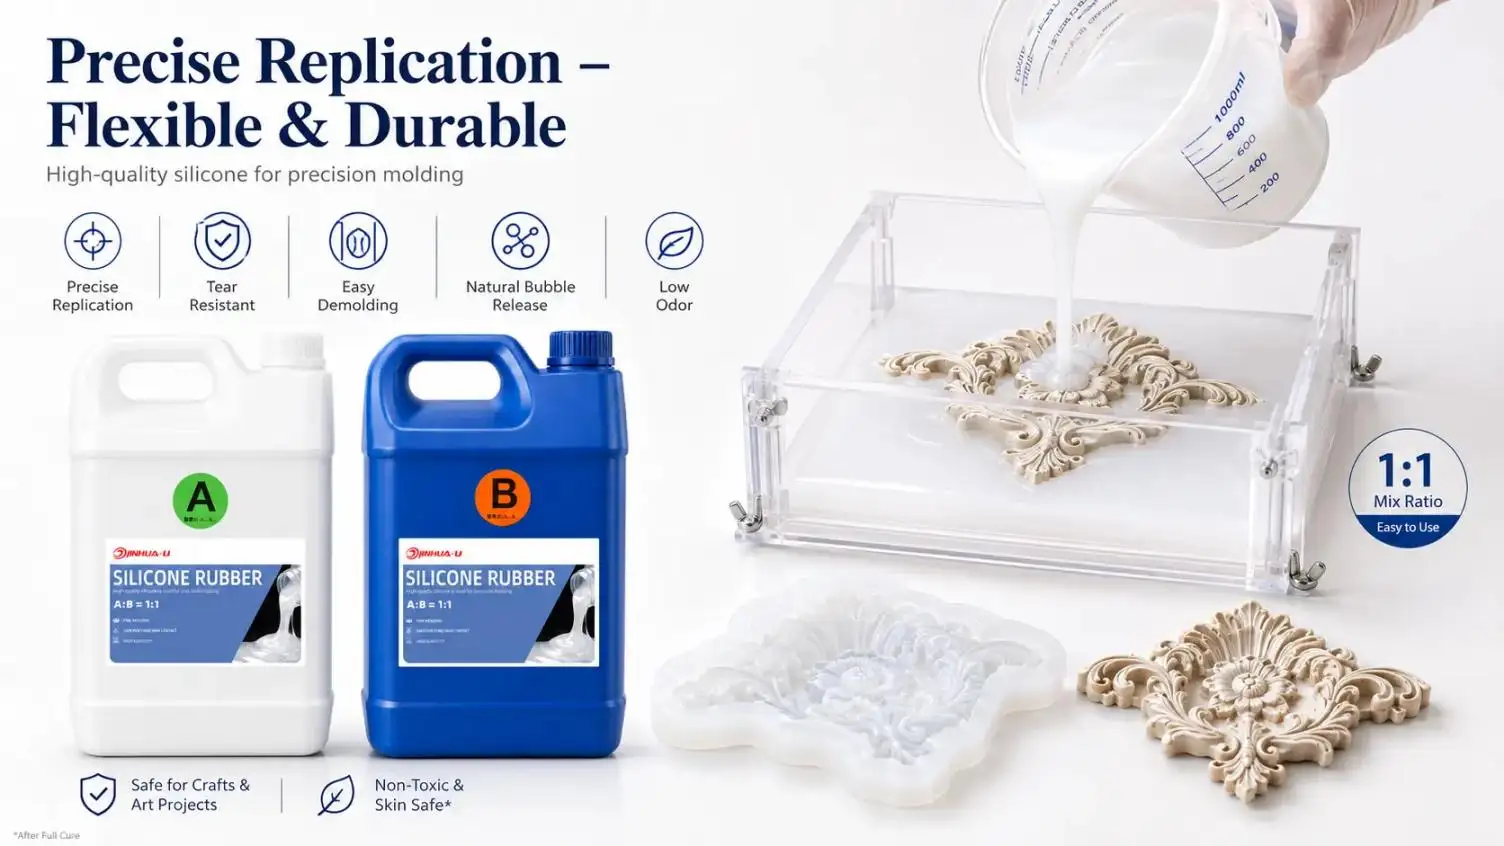






Woodworking, craft, countertop, flooring, repairs, coatings, molds, and industrial applications are just a few of the materials that can be made with epoxy resin. The key to getting a good result is making sure the epoxy resin and hardener are mixed properly, however.
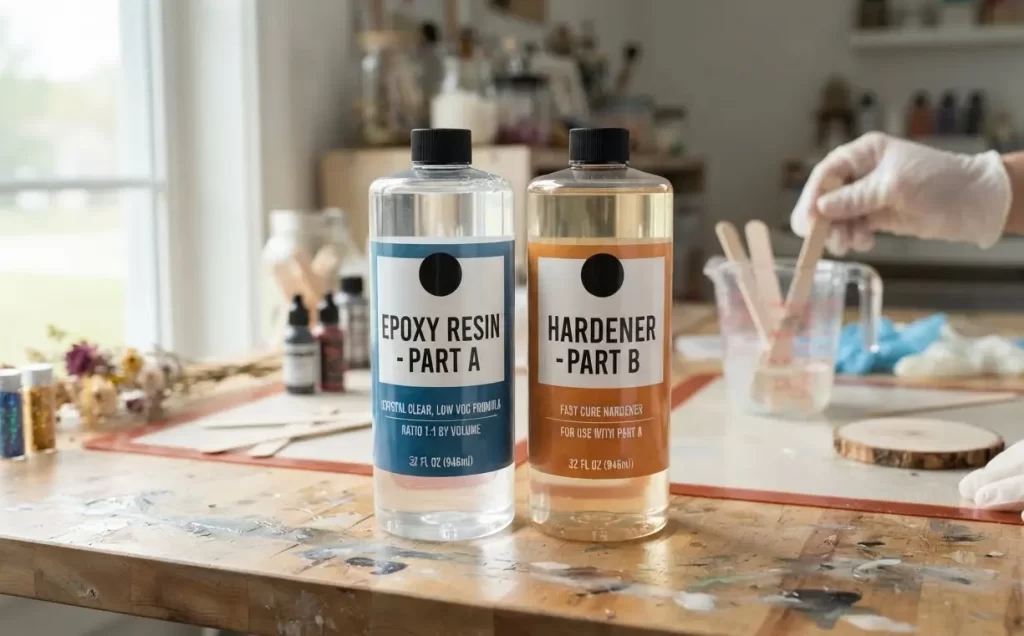
Epoxy will not cure smooth, glossy and hard if the ratio is incorrect or the two parts are not thoroughly mixed together. Fortunately, the process is easy to learn if you know the proper epoxy resin-to-hardener ratio, preparation needs, mixing method and curing conditions.
This guide will explain the correct mixing and application of epoxy resin and hardener, including tips for those who are new to using resin and experienced epoxy resin users.
What Are Epoxy Resin and Hardener?
Most two-part epoxy systems contain two separate components:
- Part A: Epoxy Resin
- Part B: Hardener or Curing Agent
Each component is insufficient to cure on its own. Resin and hardener, when mixed together at the proper ratio as specified by the manufacturer, react chemically as a process known as polymerization. The liquid solution slowly solidifies into a substance that exhibits high bonding properties, toughness and resistance to chemicals.
The word formulation is used to refer to the exact components of a product, and therefore, epoxy resin and hardener cannot be exchanged between different brands or formulations.
Why Is the Mixing Ratio Important?
The resin and hardener must be combined in a precise proportion to achieve the intended chemical reaction.
Common epoxy mixing ratios include:
- 1:1 — equal parts resin and hardener
- 2:1 — two parts resin to one part hardener
- 3:1 — three parts resin to one part hardener
- 4:1 — four parts resin to one part hardener
Always use the ratio stated on the product label or technical data sheet. Don't assume that all epoxy products are 1:1.
If too much resin is used, the mixture may be too soft or sticky since there isn't enough hardener to react. Too much hardener does not necessarily mean that the epoxy will cure faster or harder and can cause brittleness and/or surface defects or other curing issues.
Should You Measure Epoxy by Weight or Volume?
Epoxy can be measured either by volume or by weight, but the correct method depends on the manufacturer's instructions.
Measuring by Volume
Volume measurement is common for consumer and craft epoxy systems. Graduated mixing cups make it easy to measure resin and hardener accurately.
For example, with a 1:1 volume ratio, you would use equal volumes of Part A and Part B.
Measuring by Weight
A digital scale can provide excellent accuracy, particularly when making small batches. However, resin and hardener usually have different densities, so a 1:1 volume ratio does not automatically mean a 1:1 weight ratio.
Never convert a volume ratio into a weight ratio unless the manufacturer provides the correct conversion.
Tools and Safety Equipment You Need
Before mixing epoxy, prepare everything in advance. You should have:
- Nitrile gloves
- Safety glasses
- Protective clothing
- Graduated mixing cups
- Clean mixing sticks
- Digital scale, if required
- Disposable applicators or spreaders
- Clean work surface
- Paper towels
- Adequate ventilation
Read the manufacturer's safety information before using any epoxy product. Avoid direct skin contact with uncured resin and hardener, and use appropriate ventilation for your specific product and workspace.
Step-by-Step: How to Mix Epoxy Resin and Hardener
Step 1: Prepare Your Workspace
Work on a clean, stable, and protected surface. Keep your tools, molds, pigments, and application equipment nearby before mixing.
Temperature is also important. Many epoxy systems perform best in a moderate room-temperature environment, but the manufacturer's recommended temperature should always take priority.
A cold environment can make epoxy thick and difficult to mix, while excessive heat can significantly shorten working time.
Step 2: Check the Resin Temperature
Cold epoxy becomes more viscous, which can make mixing difficult and increase trapped air bubbles.
If permitted by the product instructions, gently warm sealed containers in a warm-water bath before use. Never microwave epoxy or place resin directly on a heating element.
The goal is to improve flow without overheating the components.
Step 3: Measure the Components Accurately
Measure Part A and Part B according to the specified mixing ratio.
For example, if your epoxy requires a 2:1 ratio by volume, measure two parts resin for every one part hardener.
Use level measurements and check the markings at eye level. Small measurement errors can become significant when working with larger batches.
Step 4: Mix Slowly and Thoroughly
Pour the components into a clean mixing cup and begin stirring slowly.
Avoid aggressive whipping because rapid stirring introduces unnecessary air into the mixture.
During mixing:
- Stir slowly and consistently.
- Scrape the sides of the container.
- Scrape the bottom of the container.
- Fold material back into the center.
- Continue until the mixture is completely uniform.
The exact mixing time varies by product. Follow the manufacturer's instructions rather than relying on a universal number of minutes.
Incomplete mixing is one of the most common causes of sticky areas, soft spots, streaks, and incomplete curing.
Step 5: Use a Second-Cup Mixing Method
For important projects, a second clean mixing cup can provide additional protection against improperly mixed material.
After thoroughly mixing in the first container, transfer the epoxy into another clean cup and mix again according to the product instructions.
This helps incorporate material that may have remained on the sides or bottom of the original container.
Step 6: Add Pigments or Compatible Additives
If you want colored epoxy, use pigments, dyes, mica powders, or other additives specifically designed for epoxy.
Always check the manufacturer's recommended addition rate. Excessive additives can affect viscosity, curing, strength, and final appearance.
For most applications, first combine the resin and hardener correctly, then add compatible colorants as directed by the product manufacturer.
Step 7: Pour the Epoxy
Once the mixture is properly combined, begin your application within the product's working time.
Pouring from a low height can help reduce additional air incorporation. Spread the epoxy gently with a suitable tool when necessary.
For deep-pour applications, always follow the manufacturer's maximum recommended pour depth. Pouring a standard coating epoxy too deeply can generate excessive heat during curing.
How Long Does Epoxy Take to Cure?
Two different terms are important: pot life and cure time.
Pot Life
Pot life is the period during which mixed epoxy remains workable.
Higher temperatures and larger batches can accelerate the chemical reaction and shorten working time.
Cure Time
Cure time is the period required for the epoxy to harden sufficiently. Initial curing may occur within hours, while full mechanical properties can take considerably longer depending on the formulation, thickness, temperature, and application.
Always follow the specific manufacturer's cure schedule rather than assuming every epoxy cures at the same speed.
How to Prevent and Remove Epoxy Bubbles
Air bubbles are common when mixing epoxy. You can reduce them by:
- Mixing slowly
- Avoiding vigorous stirring
- Using properly conditioned resin
- Pouring carefully
- Allowing bubbles time to rise when the product permits
For suitable surface-coating products, a heat gun or other approved bubble-removal method may help release surface bubbles. Keep heat moving and avoid overheating the epoxy.
Common Epoxy Mixing Problems
Sticky or Soft Epoxy
Possible causes: Incorrect ratio, incomplete mixing, unsuitable temperature, or contamination.
Solution: Verify the mixing ratio and manufacturer's curing requirements. For future batches, measure accurately and mix thoroughly.
Cloudy Epoxy
Possible causes: Low temperature, moisture, excessive air, or incompatible additives.
Solution: Maintain suitable working conditions, mix gently, and use only compatible materials.
Epoxy Cures Too Quickly
Possible causes: High temperature or excessive batch size.
Solution: Work within the manufacturer's temperature range and consider smaller batches.
Uneven or Sticky Spots
Possible cause: Resin or hardener that was not fully incorporated from the sides or bottom of the mixing container.
Solution: Scrape the container thoroughly during mixing and consider the two-cup mixing method.
Best Practices for Successful Epoxy Projects
For consistent results, remember these key principles:
- Follow the manufacturer's mixing ratio exactly.
- Measure by the method specified—weight or volume.
- Use clean, dry equipment.
- Mix slowly and thoroughly.
- Control temperature and humidity when required.
- Do not exceed the product's working time or maximum pour depth.
- Use only compatible pigments and additives.
- Prepare the application surface properly.
- Allow sufficient curing time before heavy use.
- Always read the product's technical and safety instructions.
Final Thoughts
The key to successful epoxy work is learning the proper mixing technique of epoxy resin and hardener. Most critical is an accurate measurement, good mixing, adequate working conditions, and patience during curing.
When making an epoxy table, coating a counter top, casting decorative pieces, repairing parts, or for any epoxy industrial application, you will have a much higher success rate of getting a strong, smooth and professional finish if you follow the directions of the product you are using.
Always use the technical data sheet that you received with your specific epoxy system if you have any questions. The mixing ratio, working time, cure schedule and application limits may vary considerably between different formulations.