




With its durability, clarity, and seemingly limitless creative potential, epoxy resin has made it a go-to choice for many DIY enthusiasts. Using the proper resin, a handful of tools, and inexpensive silicone molds, the novice can design and make decorative and functional objects without advanced crafting skills.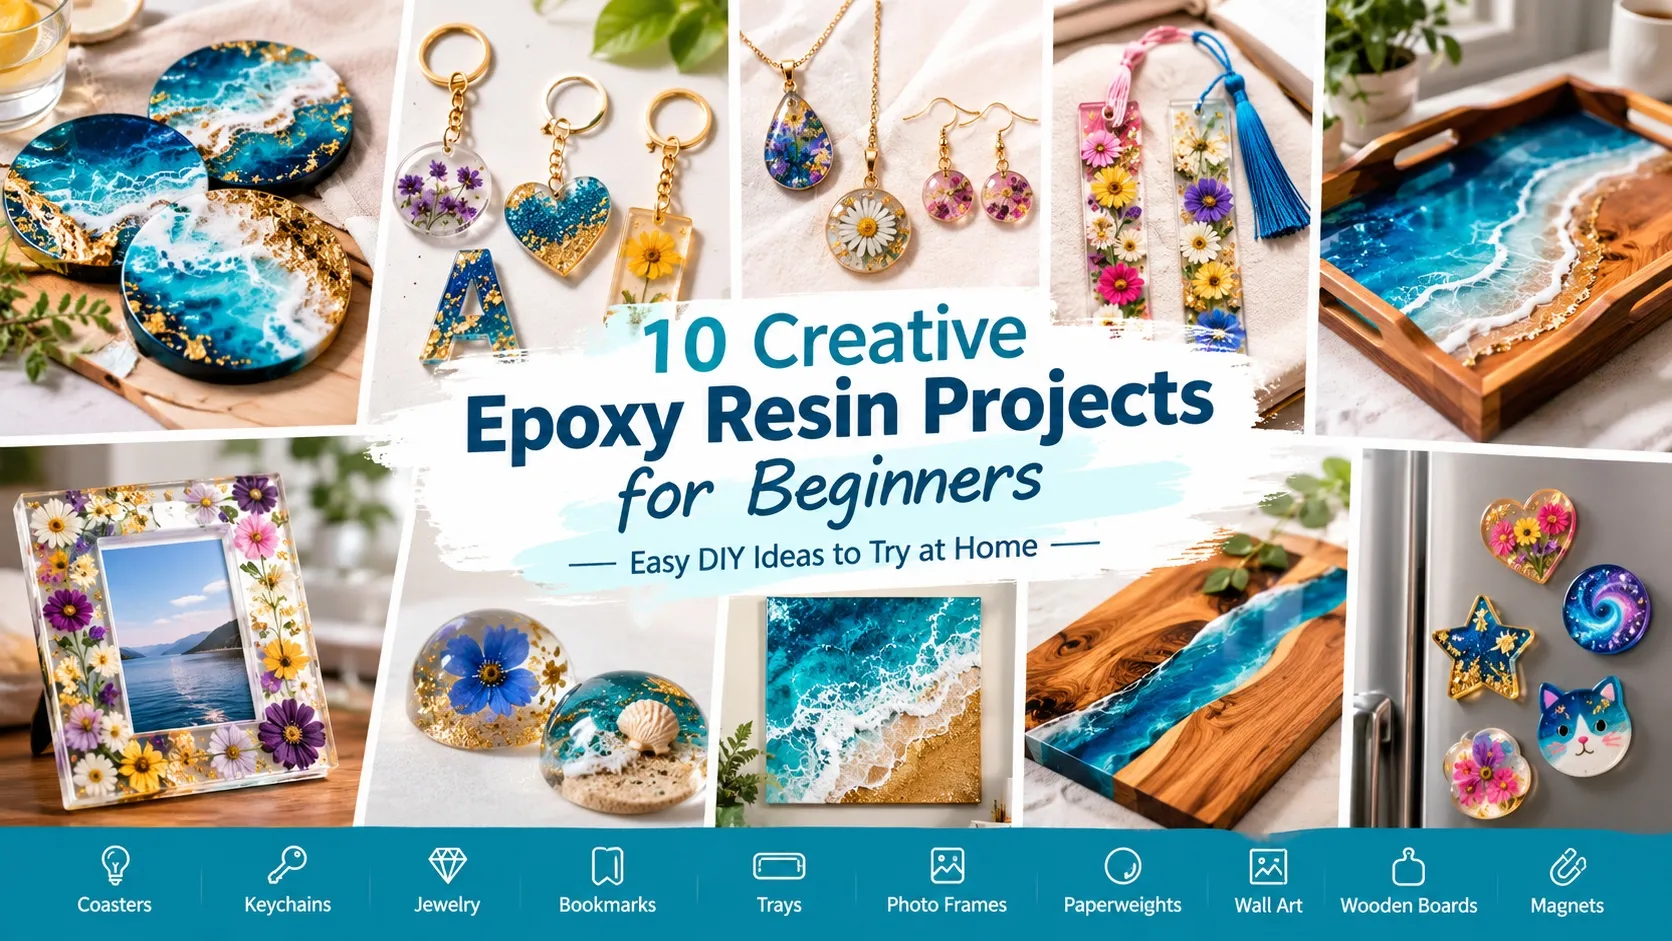
When beginning to use epoxy resin, you don't need to buy a big table or a fancy resin art project because it can be used in a number of creative ways. Coasters, bookmarks, magnets, keychains… these are all small projects that can be a great way to learn some basics around measuring, mixing, coloring, pouring, and curing.
We'll be taking a look at 10 easy epoxy resin projects for the novice, and some helpful tips to help you do a great job.
What Do You Need for Beginner Epoxy Resin Projects?
Before starting your first project, prepare the basic materials you will need. Depending on the project, your supplies may include:
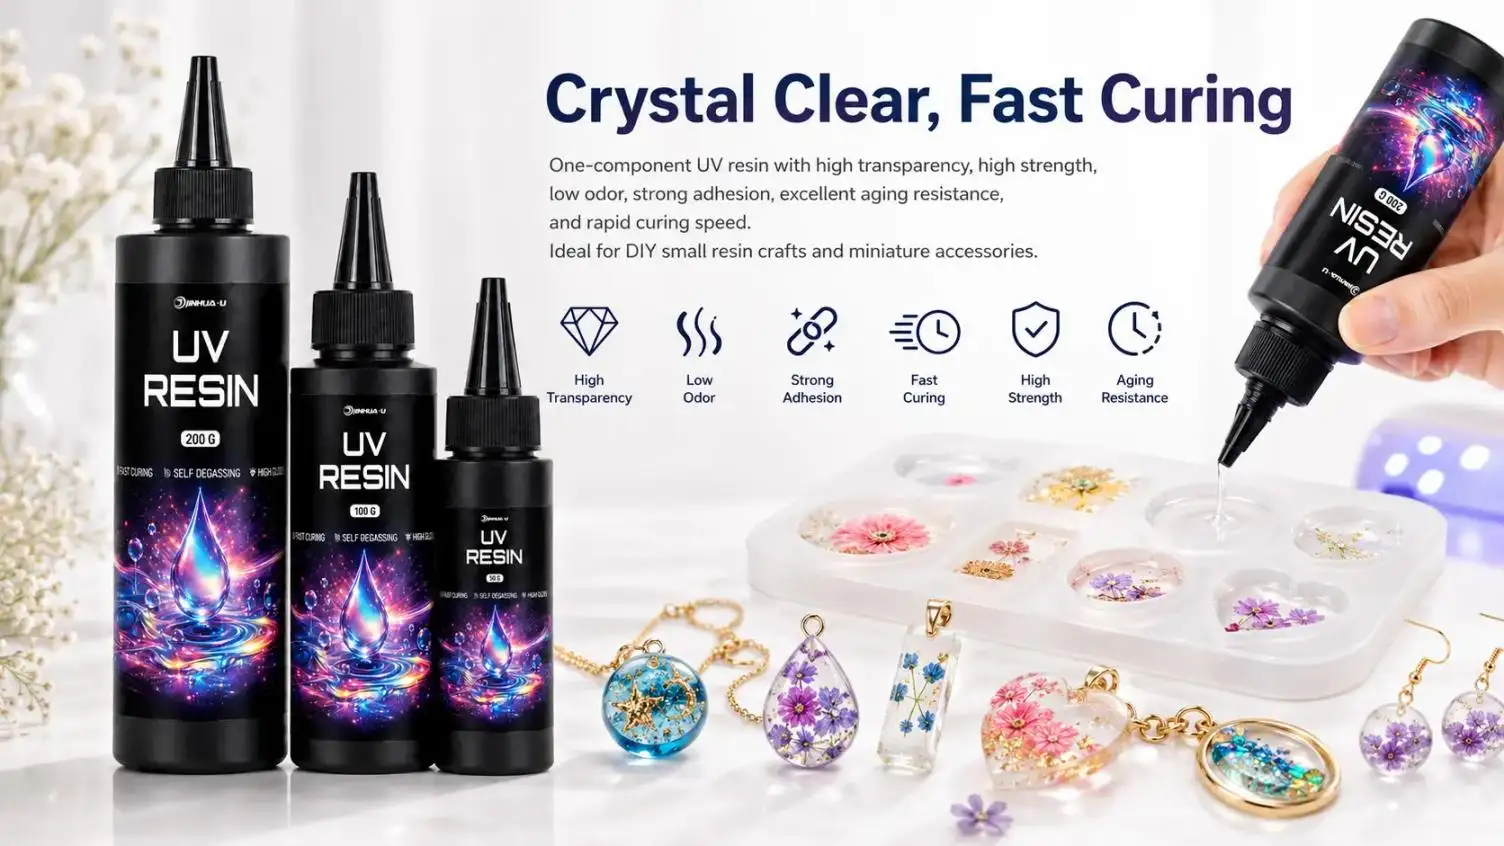
- Two-part epoxy resin and hardener
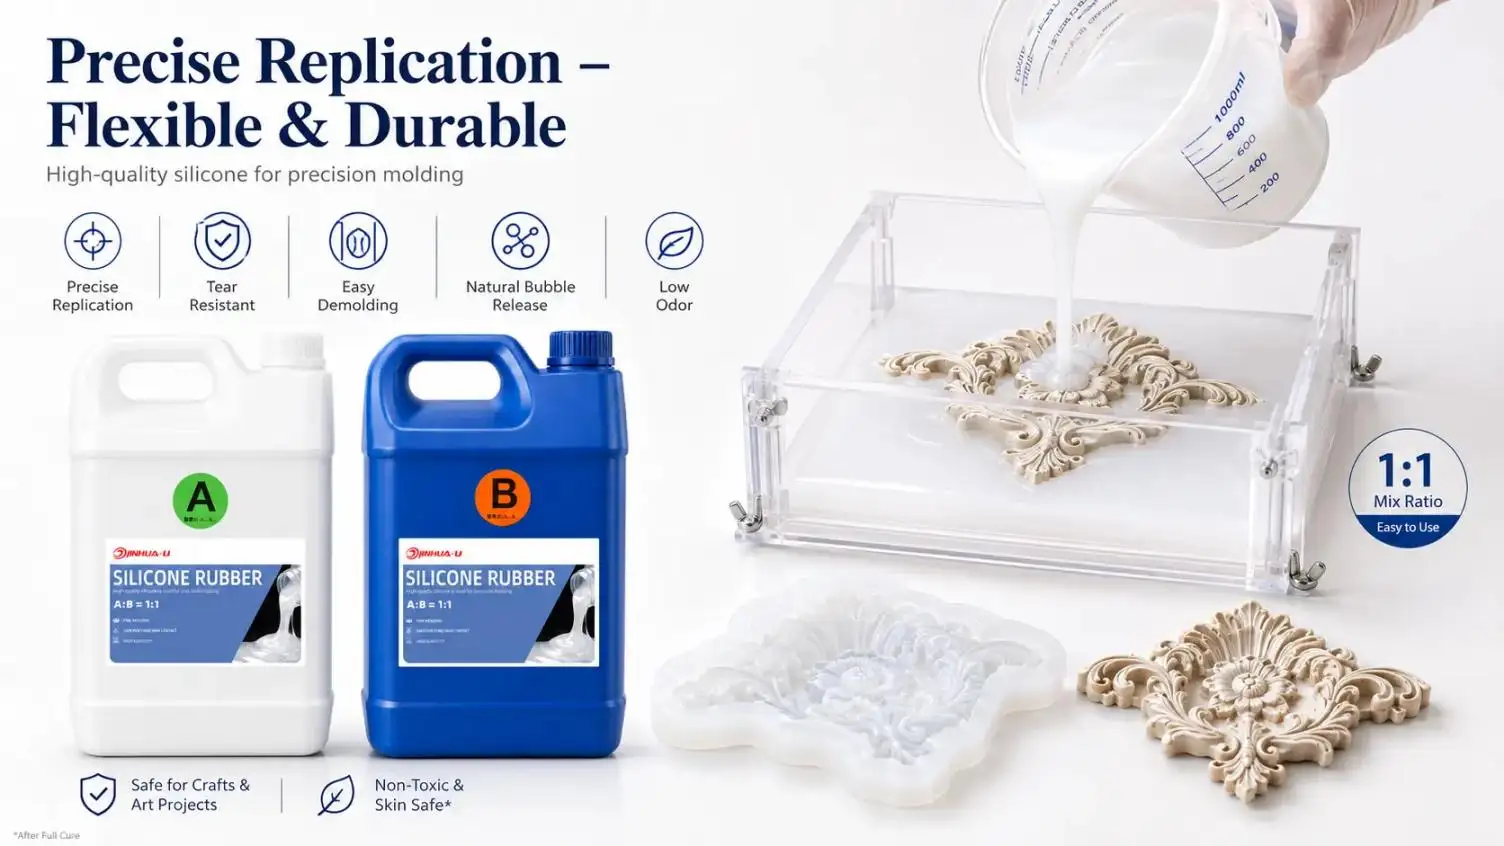
- Silicone molds
- Measuring and mixing cups
- Stirring sticks
- Disposable gloves
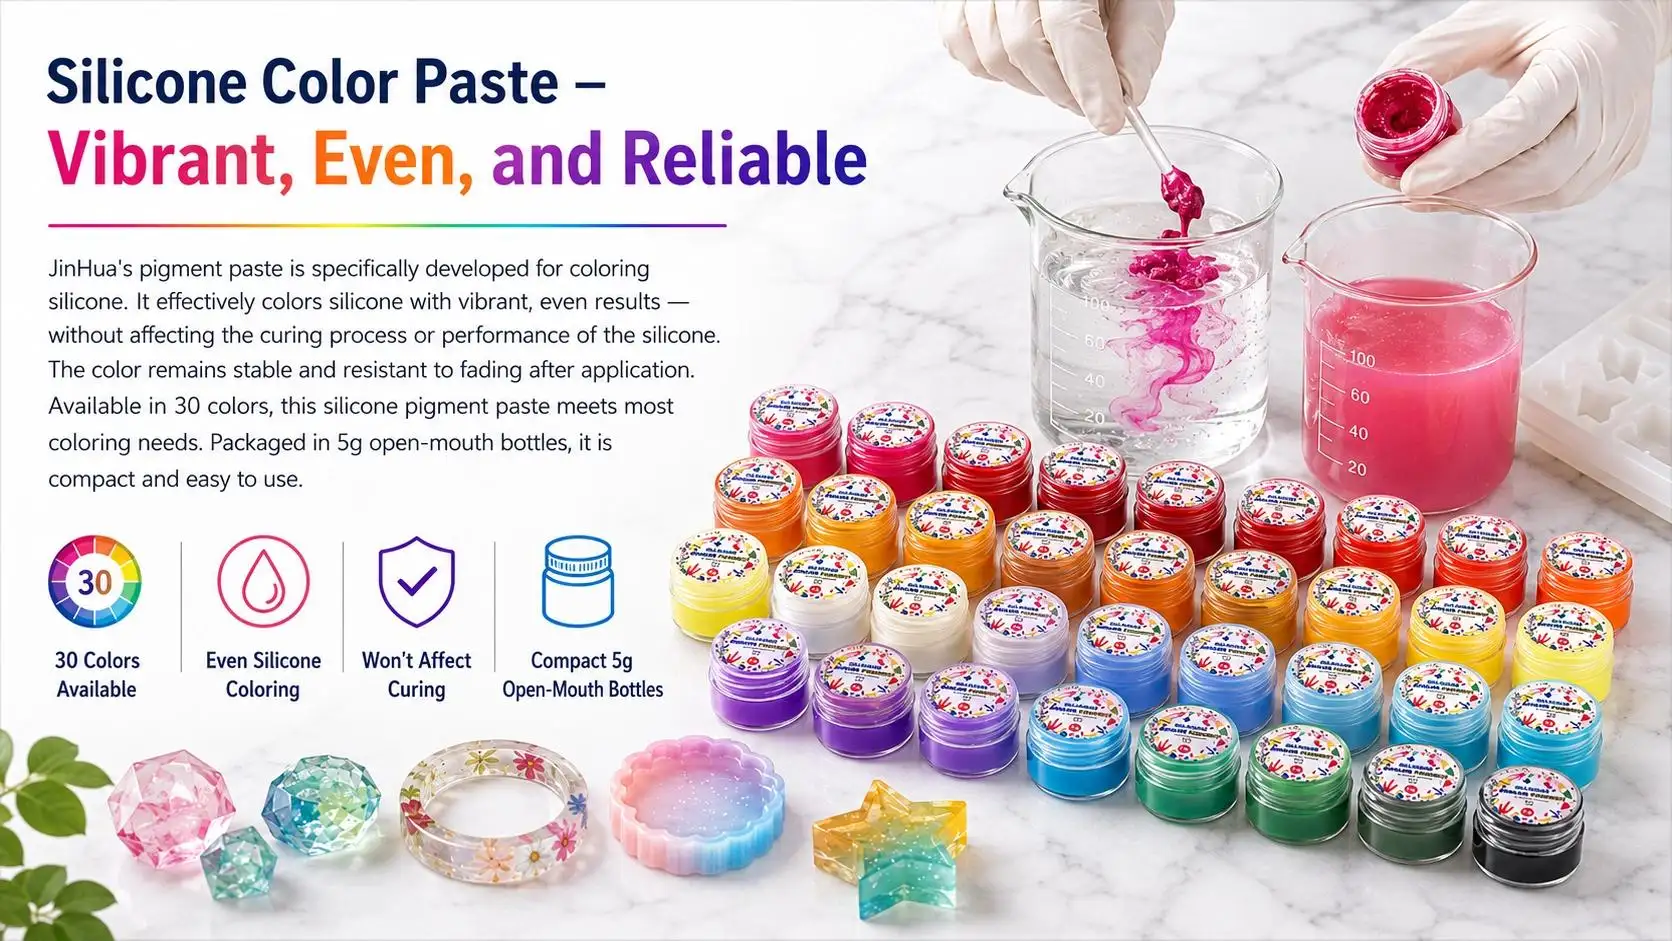
- Pigments, mica powder, or resin dyes
- Dried flowers, glitter, shells, or other decorative elements
- Sandpaper for finishing
- Heat gun or suitable bubble-removal tool
- Painter’s tape
- Protective covering for your work surface
Always follow the manufacturer's mixing ratio, working time, curing instructions, and safety recommendations. Proper ventilation and appropriate personal protective equipment are important when working with epoxy resin.
1. DIY Epoxy Resin Coasters
Resin coasters are one of the best epoxy projects for beginners. They are small, relatively inexpensive, and give you plenty of opportunities to experiment with color and design.
Start with round, square, hexagonal, or geometric silicone molds. Mix your epoxy according to the manufacturer's instructions, then add mica powder, resin pigment, glitter, or other compatible decorative materials.
You can create:
- Marble-effect coasters
- Ocean-inspired designs
- Metallic patterns
- Transparent floral coasters
- Minimalist single-color coasters
Allow the resin to cure completely before removing the coaster from the mold. Once cured, inspect the edges and lightly sand them if necessary.
Beginner tip: Start with a simple two-color design instead of trying to create a complicated pattern on your first attempt.
2. Personalized Epoxy Keychains
For a smaller project, you might want to make epoxy resin keychains that can also be made into a personal gift.
You can form letters, hearts, circles, animals, flowers and more using small silicone molds. Glitter, dried flowers, small charms, pigments or decorative flakes can be used to customize each keychain.
After it's completely cured add a little hole or use an appropriate finding to mount the keyring.
Key chains are relatively small, and therefore can be used to learn about the behavior of epoxy in thin layers.
Design task: Make keychains for each initial or birth month.
3. Handmade Resin Jewelry
The epoxy resin is perfect for making light weight jewellery for jewellery such as earrings, pendants, charms and bracelets.
Create with small jewelry molds and try various mixes of transparent resin, pigments, glitter, dried flowers, shells or other appropriate additions.
Resin jewellery is versatile, one good thing about this jewellery. One mold can achieve a very different look by altering the color or combining in different materials into the mold.
Transparent resin with one or two decorative elements is easier to control than a design with many colours and inclusions for anyone who is new to the process.
Once cured, trim edges and then add the proper decoration components.
4. DIY Epoxy Resin Bookmarks
Resin bookmarks are a quick and easy craft project for book enthusiasts.
Use a long narrow silicone mould and fill with clear or colour epoxy. Before the resin sets, add dried flowers, glitter, metallic flakes or any other small decorative pieces.
After demoulding, ribbon, tassel or decorative cord may be attached.
A resin bookmark is a good choice for those who are just starting out with resin because it is made with a relatively low amount of resin and is an easy way to practice making some of the thin, decorative work you can do with resin.
5. Decorative Epoxy Serving Trays
When you get used to doing small resin crafts, there's no reason why you can't do something bigger like a resin serving tray.
Wooden tray can be treated with a high sheen resin finish and a custom decorative piece. Common patterns include swirls, metallic finishes, marble finishes, and ocean waves.
Prior to any epoxy application ensure that surfaces are both prepared and cleaned and dry and appropriate for the epoxy coating system being applied. Painter's tape can also act as a protective barrier for edges and to prevent unwanted drips.
Note: When used in a tray that will be in direct contact with food, always check that the epoxy product and completed cured system is suitable for this application. Always adhere to the manufacturer's instructions.
6. Personalized Epoxy Photo Frames
Enjoy a decorative home item using an epoxy resin photo frame of one or more moments that make your photos memorable.
Photographs, pressed flowers, handwritten messages, decorative paper or any appropriate material can be used in a resin design. Layered look and very personalized appearance for the final product can be achieved by the embedded elements.
One important factor is to safeguard paper or photo materials prior to embedding. In some materials, sealing can prevent unwanted absorption, discoloration or trapped air.
This project is particularly appropriate for birthdays, anniversaries, weddings and other special events.
7. Custom Resin Paperweights
Another popular, easy project is a resin paper weight.
Use a proper mold and use to make a clear, colored or decorative paper weight. Small items such as stones, dried flowers, shells, coins, etc. can be added to the design if prepared properly and will not react with the resin.
For thicker castings use an epoxy system that is designated for deeper pours and adhere to the maximum pour depths.
Once resin fully cures, sanding and polishing can further enhance the appearance, provide a glass-like finish to the resin.
8. DIY Epoxy Resin Wall Art
If you want to experiment with more artistic designs, try creating epoxy resin wall art.
A wooden panel, suitable canvas-based surface, or other compatible substrate can become the foundation for an abstract resin artwork.
Popular techniques include:
- Layered color effects
- Metallic accents
- Ocean-inspired waves
- Marble patterns
- Geometric designs
- Transparent layered compositions
You can use pigments, mica powders, metallic flakes, and other compatible additives to create depth and movement.
For beginners, start with a small panel. This makes it easier to control the amount of resin and gives you a manageable surface for experimenting with techniques.
9. River-Style Epoxy Cutting Boards and Trays
The iconic epoxy river design does not have to be limited to large river tables. You can adapt the concept to smaller projects such as serving trays and decorative wooden boards.
A typical design combines two pieces of wood with a colored epoxy section running between them. Blue or turquoise resin can create an appearance inspired by flowing water, while metallic pigments can produce a more dramatic effect.
This type of project requires more preparation than a simple coaster, especially when working with wood and deeper resin sections.
Choose an epoxy system designed for the intended pour depth, properly prepare the wood, and allow sufficient curing time before sanding and finishing.
10. DIY Epoxy Resin Magnets
Looking for a quick and inexpensive epoxy craft? Resin magnets are a great option.
Small silicone molds can be used to create hearts, flowers, letters, animals, geometric shapes, or other designs. Add pigment, glitter, miniature decorative elements, or suitable images to personalize each piece.
After the resin has completely cured, attach an appropriate magnet to the back using a suitable adhesive.
Because the finished pieces are small, you can make several designs in one crafting session. They also make simple personalized gifts, party favors, or decorative accessories.
Tips for Getting Better Results With Epoxy Resin
Your first project may not be perfect, and that is part of learning. These basic practices can make the process easier:
Measure Accurately
Epoxy resin and hardener must be combined according to the manufacturer's specified ratio. Do not guess the proportions.
Mix Slowly and Thoroughly
Mix carefully while scraping the sides and bottom of the container. Mixing too aggressively can introduce additional air bubbles.
Keep Your Workspace Clean
Dust, hair, moisture, and debris can become trapped in uncured resin. Prepare your workspace before you begin and keep the project covered while it cures.
Avoid Rushing the Curing Process
A resin piece may feel solid before it has reached its full cure. Follow the product's recommended curing time before demolding, sanding, handling, or using the finished item.
Start Small
If you are completely new to epoxy resin, begin with coasters, magnets, keychains, or bookmarks. These projects require less material and allow you to learn the fundamentals before moving on to larger pieces.
Which Epoxy Resin Project Should Beginners Try First?
Coasters make a great beginning for most beginners and are relatively simple, cheap and customizable. For an even smaller item, consider using a magnet or keychain.
Once you master the basics of measuring, mixing, coloring, pouring and curing, you can move on to make jewelry, serving trays, wall art and river style projects.
The key is to select an epoxy system that is compatible with your project. Different formulations may be needed for craft and art applications as opposed to table top or deep pour applications. Before beginning read the product specifications.
Final Thoughts
The possibilities of epoxy resin are a blend of creativity and functionality. There are a variety of creative epoxy projects that can be made by beginners, from colorful coasters to personalized keychains, artistic wall panels to wooden trays made to look like a river, and much more.
No special equipment or years of experience required to get started. Do some small project, plan your work well, follow the instructions from the manufacturer of the resin and take time to learn.
As you become more confident, you can try out bigger surfaces, objects that are embedded, more advanced techniques, layered colors, and custom designs. Any simple project with epoxy can be a functional piece of art with practice.